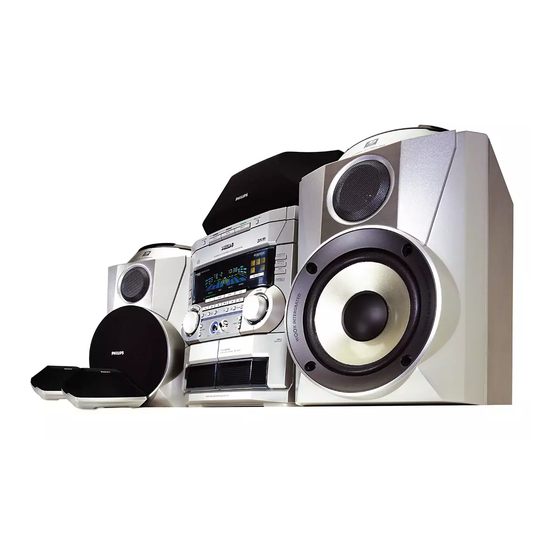
Philips 3 CD CHANGER WITH DOLBY PRO LOGIC PROCESSOR FWP88C 사용자 설명서 - 페이지 25
{카테고리_이름} Philips 3 CD CHANGER WITH DOLBY PRO LOGIC PROCESSOR FWP88C에 대한 사용자 설명서을 온라인으로 검색하거나 PDF를 다운로드하세요. Philips 3 CD CHANGER WITH DOLBY PRO LOGIC PROCESSOR FWP88C 31 페이지. 3 cd changer with dolby® pro logic processor, five loudspeakers, 320 watts total power
Philips 3 CD CHANGER WITH DOLBY PRO LOGIC PROCESSOR FWP88C에 대해서도 마찬가지입니다: 사양 (2 페이지), 매뉴얼 (31 페이지)

MINI HIFI SYSTEM
STANDBY
ON
POWER SAVE
IR SENSOR
CD 1•2•3
BAND
C 1 • 2 • 3
CD
BAND
TUNER
SEARCH•TUNING
STOP•CLEAR
CLOCK/
PROG
TIMER
BASS
PLUS
pg 01-31/P88/22-Eng
25
DOLBY B NR
LEFT
CENTER
RIGHT
NEWS/TA
SURR
SURR
PRO LOGIC
RDS
TAPE 1•2
CDR/DVD
CD TEXT
TAPE
AUX
CDR
PRESET
PLAY PAUSE
PREV
SIDE
NEXT
DUB
DIM
A. REV
RECORD
(HSD)
TREBLE
wOOx
LEVEL
TECHNOLOGY
SWITCH OFF DOLBY PRO LOGIC
WHEN RECORDING
Notes:
– It is not possible to change tape side
during recording.
– For recording, use only tape of IEC type I
(normal tape) or IEC type II (Cr0 2 ).
– The tape is secured at both ends with
leader tape. At the beginning and end of
tape, nothing will be recorded for six to
seven seconds.
– The recording level is set automatically,
regardless of the position of Volume,
wOOx, DSC, etc.
Dolby B NR can be selected for Tuner or
CD recording.
– To prevent accidental recording, break
out the tab on the left shoulder of the
tape side you want to protect.
– If " CHECK TAPE " is displayed, the
protection tab has been broken. Put a
piece of clear adhesive tape over the
opening. Do not cover the Cr0 2 tape
detection hole when covering the tab
opening.
3/6/00, 1:27 PM
RECORDING
Recording from other sources
(only on tape deck 2)
1 Press TAPE ( TAPE 1•2 ) to select tape
deck 2.
2 Load a blank tape into tape deck 2 with
the open side downward.
3 Press í or ë to select the recording
tape side (see Tape Side under TAPE
section) .
4 Press DOLBY B NR to record with
Dolby B NR.
5 Press CD, TUNER or AUX.
• Start playback of the selected source.
6 Press RECORD to start recording.
™ The
starts flashing.
REC
7 Press Ç to stop recording.
Notes:
– Only å å å å å or ∂
∂ mode is available
∂
∂
∂
during recording .
– During recording, it is not possible to
listen to another source.
3139 116 19721
25
