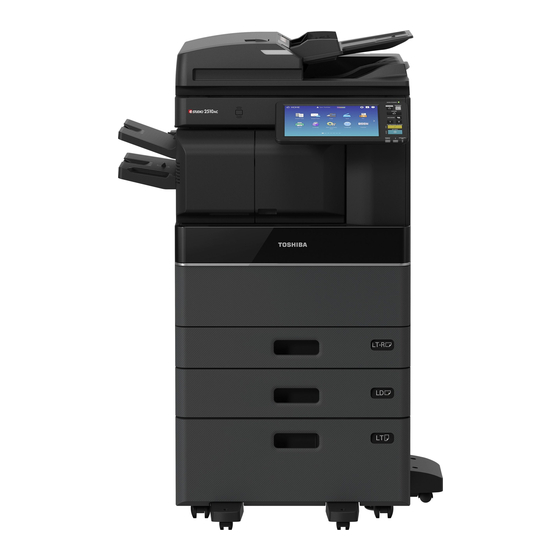
Toshiba e-STUDIO8518A 사용자 설명서 - 페이지 6
{카테고리_이름} Toshiba e-STUDIO8518A에 대한 사용자 설명서을 온라인으로 검색하거나 PDF를 다운로드하세요. Toshiba e-STUDIO8518A 20 페이지. Sys board diagnosis tool
Toshiba e-STUDIO8518A에 대해서도 마찬가지입니다: 관리 매뉴얼 (32 페이지), 운영자 매뉴얼 (32 페이지)

4. Remove the short pin attached to CN106 of the SYS Board and then insert the short
pin on one side of CN106 as shown in the figure below.
5. Insert the USB memory containing the Diagnostic tool into the usb port locate on the
left-side of Control Panel or the upper right side of the machine (the USB memory
insertion slot location differs depending on the model).
6. Insert the power cable into the MFP.
7. Turn on the Main power switch ON (all covers must be closed).
8. The following screen with a progress bar will be displayed and the automatic check
process is started.
6
