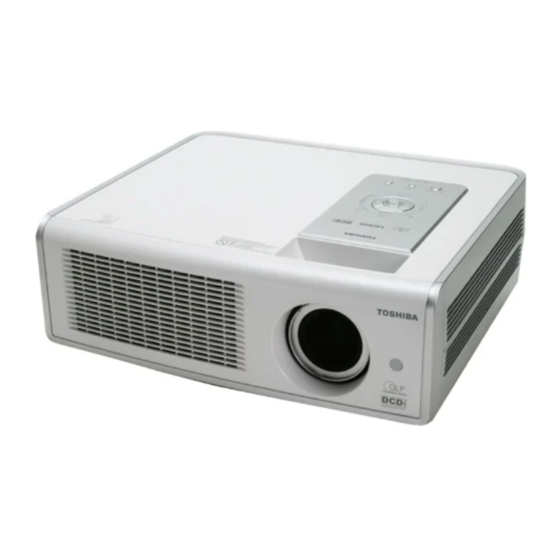
Toshiba TDP-MT700 소유자 매뉴얼 - 페이지 15
{카테고리_이름} Toshiba TDP-MT700에 대한 소유자 매뉴얼을 온라인으로 검색하거나 PDF를 다운로드하세요. Toshiba TDP-MT700 34 페이지. Home theater projector
Toshiba TDP-MT700에 대해서도 마찬가지입니다: 소유자 매뉴얼 (36 페이지), 서비스 매뉴얼 (49 페이지)
English
Positioning your projector
Choosing a location
Your projector is designed to be installed in one of four possible installation locations:
1.
Floor in front of screen (Standard);
2.
Ceiling in front of screen (Ceiling);
3.
Floor at rear of screen (Rear); or
4.
Ceiling at rear of screen (Rear Ceiling).
Your room layout or personal preference will dictate which installation location you select. Take into
consideration the size and position of your screen, the location of a suitable power outlet, as well as
the location and distance between the projector and the rest of your equipment.
I. Floor in front of screen:
Select this location with the projector placed
near the floor in front of the screen. This is the
most common way to position the projector for
quick setup and portability.
III. Floor at rear of screen:
Select this location with the projector placed
near the floor behind the screen.
Note that a special rear projection screen is
required.
Set Rear in the Setup > Projection Mode menu
after you turn the projector on.
II. Ceiling in front of screen:
Select this location with the projector suspended
from the ceiling in front of the screen.
Purchase the Projector Ceiling Mounting Kit from
your dealer to mount your projector on the ceil-
ing.
Set Ceiling in the Setup > Projection Mode
menu after you turn the projector on.
IV. Ceiling at rear of screen:
Select this location with the projector suspended
from the ceiling behind the screen.
Note that a special rear projection screen and
the Projector Ceiling Mounting Kit are required
for this installation location.
Set Rear Ceiling in the Setup > Projection
Mode menu after you turn the projector on.
Positioning your projector
15