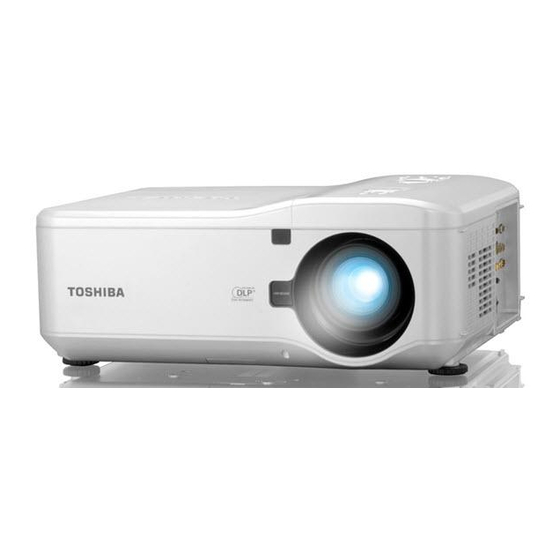
Toshiba TDP-WX5400U 소유자 매뉴얼 - 페이지 16
{카테고리_이름} Toshiba TDP-WX5400U에 대한 소유자 매뉴얼을 온라인으로 검색하거나 PDF를 다운로드하세요. Toshiba TDP-WX5400U 42 페이지. Toshiba tdp-wx5400: user guide
Toshiba TDP-WX5400U에 대해서도 마찬가지입니다: 설치 매뉴얼 (16 페이지)

Installing or removing the projection lens
CAUTION:
•
Do not shake or apply excessive pressure on the projector or the lens components as
the projector and lens components contain precision parts.
•
When shipping the projector with the projection lens, remove the projection lens before
shipping the projector. Improper handling during transportation may cause damage to
the lens and the lens shift mechanism.
•
Before removing or installing the lens, be sure to turn off the projector, wait until the cooling
fans stop, and turn off the main power switch.
•
Do not touch the lens surface when removing or installing the lens.
•
Keep fingerprints, dust or oil off the lens surface. Do not scratch the lens surface.
•
Work on a level surface with a soft cloth under it to avoid scratching.
•
If you remove and store the lens, attach the cap to the projector to keep off dust and
dirt.
•
Do not turn on the projector when a projection lens is not mounted.
Removing the lens from the projector
Remove the lens cap.
1
Push the LENS RELEASE button all the way in and rotate the lens counterclockwise.
The lens will be disengaged.
Note
•
If the lens cannot be removed by using the LENS RELEASE button, the anti-theft screw may be
in use to secure the lens. If that is the case, remove the anti-theft screw first.
30
Pull out the lens slowly.
CAUTION:
•
When Installing the projection lens into the projector, be sure to remove the lens cap
from the back of the lens before installing into the projector. Failure to do so will cause
damage to the projector.
Installing the new lens
Insert the lens with the arrow mark of the unit facing up.
1
Rotate the lens clockwise until you feel it click into place.
Arrow Mark
31
