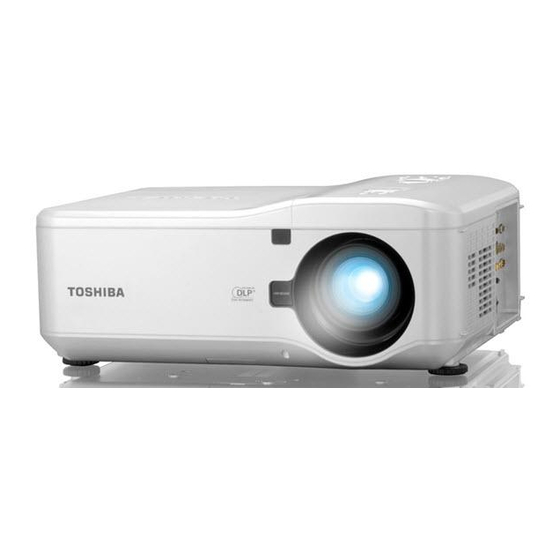
Toshiba TDP-WX5400U 소유자 매뉴얼 - 페이지 17
{카테고리_이름} Toshiba TDP-WX5400U에 대한 소유자 매뉴얼을 온라인으로 검색하거나 PDF를 다운로드하세요. Toshiba TDP-WX5400U 42 페이지. Toshiba tdp-wx5400: user guide
Toshiba TDP-WX5400U에 대해서도 마찬가지입니다: 설치 매뉴얼 (16 페이지)

Installing or removing the projection lens (Continued)
Securing the lens using the anti-theft screw
Using the anti-theft screw to prevent theft of the lens. Tighten the supplied anti-theft screw
on the front bottom.
Anti-theft screw
Installing the optional color wheel (provided)
This projector comes with a four-segment color wheel installed. An additional six-segment color
wheel is also provided. To replace the color wheel (located under the lamp cover adjacent to
lamp 1) refer to the following guide.
Note
•
Wait until the lamp housing and the color wheel cool off.
Loosen the captive screw (A) on the lamp cover.
1
Remove the lamp cover by sliding it in the direction of the arrow (B).
A
Anti-theft screw hole
for lens unit
B
Unscrew the retaining screws (x 4) on the four-segment color wheel.
Lift the color wheel in the direction shown.
4
Insert the six-segment color wheel.
5
