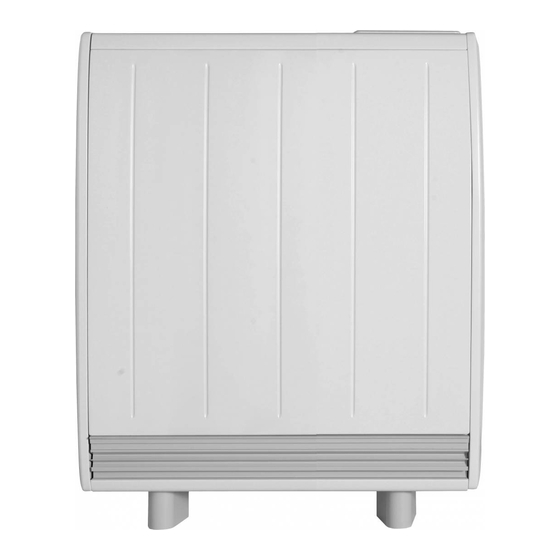
Dimplex Quantum series 설치 및 운영 매뉴얼 - 페이지 10
{카테고리_이름} Dimplex Quantum series에 대한 설치 및 운영 매뉴얼을 온라인으로 검색하거나 PDF를 다운로드하세요. Dimplex Quantum series 12 페이지.
Dimplex Quantum series에 대해서도 마찬가지입니다: 빠른 시작 매뉴얼 (12 페이지)

15. The third row of energy cells is positioned in a manner
similar to the fi rst row. Again be careful not to damage
or dislodge the element. (Fig. 15)
17. Remember the top row of energy cells must be fi tted
upside down. (Fig. 17)
Check that all the energy cells are secure and evenly located.
Ensure the screws retaining the heater to the wall are fully tightened, once the energy
retention cells are fully loaded. (Fig. 8, page 7)
IMPORTANT
Double check all mains connections are secure and excess cable is restrained and not in
contact with any of the heater casing.
Reassembly
To replace the front panel, bottom grille and side panels, reverse steps Figs. 4, 5 & 6 (page
6) of these instructions under the section headed Preparation.
Ensure all fi xings are secure.
Once installed DO NOT attempt to reposition the heater without fi rst unloading the
energy cells.
Fig. 1
Fig. 15
16. Fit the fourth row of energy cells above the third row
in the upside position. (Fig. 16). Repeat for the fi fth and
sixth rows of energy cells built around the third element
to complete the core build.
Fig. 1
Fig. 17
18. Close the core by refi tting the inner front panel complete
with insulation. Ensure the bottom tabs are located inside
the chassis and that the screws are tightly secured down
each edge. (Fig. 18)
Fig.
Fig. 16
Fig. 1
Fig. 18
- 10 -
