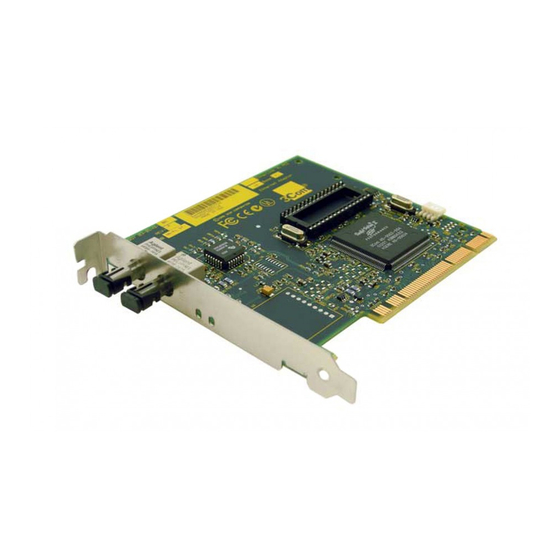
3Com 3C905C-TX-M 빠른 매뉴얼 - 페이지 11
{카테고리_이름} 3Com 3C905C-TX-M에 대한 빠른 매뉴얼을 온라인으로 검색하거나 PDF를 다운로드하세요. 3Com 3C905C-TX-M 12 페이지. Etherlink pci network interface cards
3Com 3C905C-TX-M에 대해서도 마찬가지입니다: 빠른 매뉴얼 (12 페이지)

10 Remove EtherDisk diskette 2 from drive A, and then
click Yes to restart the PC.
You must restart the PC to complete the installation.
The installation is complete. Go to the next section,
"Verifying Successful Installation," to confirm that the
NIC is properly installed.
After Windows restarts, double-click the Network icon
in the Windows Control Panel and make sure that the
configuration settings are properly configured for your
network environment. Contact your system administrator
for assistance.
Verifying Successful Installation
To verify that the NIC and its software are properly installed
on a PC running Windows 95 or Windows 98:
1 Open the Windows Start menu, select Settings, and
then select Control Panel.
2 Double-click the System icon.
3 Select the Device Manager tab.
4 Double-click Network adapters and make sure that
the name of the NIC appears.
If a red X or a yellow exclamation point (!) appears next to
the name of the NIC, the installation was not successful.
See "Troubleshooting the Installation" and "Frequently
Asked Questions" in Chapter 5 of the user guide for
troubleshooting help.
Verifying Successful Installation
11
