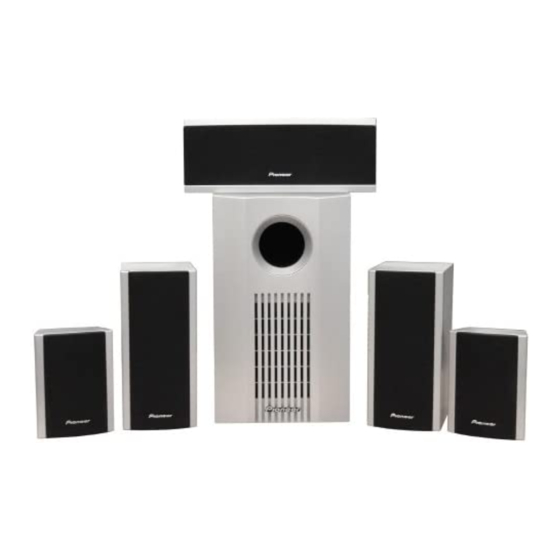
Pioneer S-FCRW240W-S 운영 매뉴얼 - 페이지 3
{카테고리_이름} Pioneer S-FCRW240W-S에 대한 운영 매뉴얼을 온라인으로 검색하거나 PDF를 다운로드하세요. Pioneer S-FCRW240W-S 8 페이지. Home theater loudspeaker system

CONNECTING YOUR SYSTEM
IMPORTANT:
Make sure all equipment is turned off before making any
connections.
POWERED SUBWOOFER
Connect the supplied RCA cable to subwoofer output on the
back of your receiver. Connect the other end to the LINE LEVEL
INPUT of your Subwoofer.
Connect the Subwoofer AC (power) plug to the AC (power)
outlet on the back of the Receiver. First check the rating of the
outlet on the receiver to make sure it is compatible with the
subwoofer rating.
If the Subwoofer is plugged directly into an AC outlet, the auto
function will operate under no-signal conditions and put the
subwoofer into standby. If you plan to leave the subwoofer un-
attended for extended periods of time, we reccomend that you
unplug the subwoofer for the AC outlet
Subwoofer output
LINE LEVEL
POWER
INDICATOR
POWER-CORD CAUTION
Handle the power cord by the plug. Do not pull out the plug by
tugging the cord. Never touch the power cord when your hands
are wet as this could cause a short circuit or electric shock. Do
not place the unit, a piece of furniture, etc., on the power cord.
Never make a knot in the cord or tie it with other cords. The
power cords should be routed such that they are not likely to
be stepped on. A damaged power cord can cause fire or give
you an electrical shock. Check the power cord periodically. If
you find it damaged, ask your nearest PIONEER authorized
service center or your dealer for a replacement.
FRONT / CENTER / SPEAKERS
Correct wiring of your loudspeakers is essential for achieving
the best sound quality. Be careful to ensure proper polarity of
connection.
Connect the supplied speaker wires to the receiver speaker
output terminals. Using the color directions below, connect
the non striped wire to the black (-) terminal and the gray
striped wire to the red (+) terminal for each channel. Connect
the other end of each wire to the input terminals at the rear of
each speaker. Connect the non striped wire to the black (-)
terminal and the gray striped wire to the red (+) terminal.
Receiver
VOLUM
E
LEVEL
IN
MIN
MAX
White/colored marker
Red-striped/colored marker
Green-striped/colored marker
Depress the input terminal lever, and insert the tip of the wire
into the hole and then release the lever so that it springs back
into position. Take care that no stray strands of wire short
across between the terminals.
Non stripe
wire
PLACEMENT AND FINE TUNING
Correct placement is important for maximizing the sound
quality of your loudspeaker system. Take time to experiment
with positioning according to the guidelines below.
B
A
C
www.pioneerelectronics.com
Front left speaker
Front right speaker
Front Center speaker
Gray stripe
Colored marker
D
D
3
