Whirlpool EL88TRRWS 냉장고 사용 및 관리 매뉴얼 - 페이지 6
{카테고리_이름} Whirlpool EL88TRRWS에 대한 냉장고 사용 및 관리 매뉴얼을 온라인으로 검색하거나 PDF를 다운로드하세요. Whirlpool EL88TRRWS 28 페이지. Trim kit
Whirlpool EL88TRRWS에 대해서도 마찬가지입니다: 치수 매뉴얼 (1 페이지), 사용 및 관리 매뉴얼 (24 페이지), 에너지 매뉴얼 (2 페이지), 설치 지침 매뉴얼 (20 페이지)
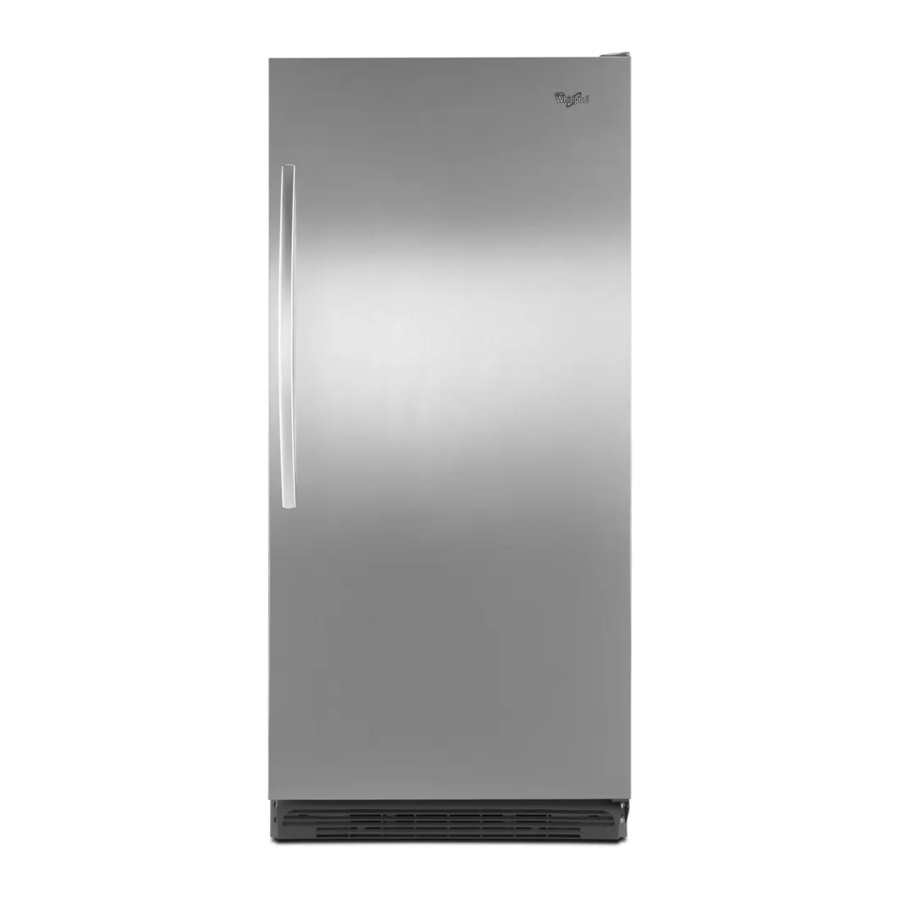
Handle
Move the door handle from one side of the door to the other.
Style 1
1. Loosen set screws located on side of handle at each end.
See Graphic 1-1.
2. Remove handle from grommets.
3. Using a
"hex-head socket wrench, remove the grommets
from the door.
4. Position the grommets on the opposite side of the door and
reinstall.
5. Position the handle over grommets on the opposite side of
the refrigerator door.
6. Ensure grommets are fitted into handle holes.
7. Tighten the upper and lower set screws with hex key
provided. Do not overtighten set screws.
Style 2
1. Slide the handle up and off the clips. See Graphic 1-2.
2. Using a flat-blade screwdriver, remove the screws from the
clips and remove the clips from the door.
3. Position the clips on the opposite side of the refrigerator door
and reinstall the screws.
4. Position handle over the clips.
5. Apply even pressure and push down to lock in place.
Replace Door and Hinges
NOTE: Graphic may be reversed if door swing is reversed.
1. Replace the parts for the bottom hinge as shown and tighten
screws. See Bottom Hinge Graphic 1C. Replace the
refrigerator door.
NOTE: Provide additional support for the door while the
hinges are being moved. Do not depend on the door magnets
to hold the door in place while you are working.
2. Assemble the parts of the top hinge as shown in the Top
Hinge Graphic 1B. Do not tighten the screws completely.
3. Line up the door so that the bottom aligns evenly with the
cabinet. Tighten all screws.
6
Final Steps
1. Check all holes to make sure that hole plugs and screws are
in place. Reinstall top hinge cover. See Top Hinge
Graphic 1B.
2. Replace the base grille. See Base Grille Graphic 1A.
WARNING
Electrical Shock Hazard
Plug into a grounded 3 prong outlet.
Do not remove ground prong.
Do not use an adapter.
Do not use an extension cord.
Failure to follow these instructions can result in death,
fire, or electrical shock.
3. Plug into a grounded 3 prong outlet.
4. Reset the control. See "Using the Control."
5. Return all removable door parts to door and food to
refrigerator.