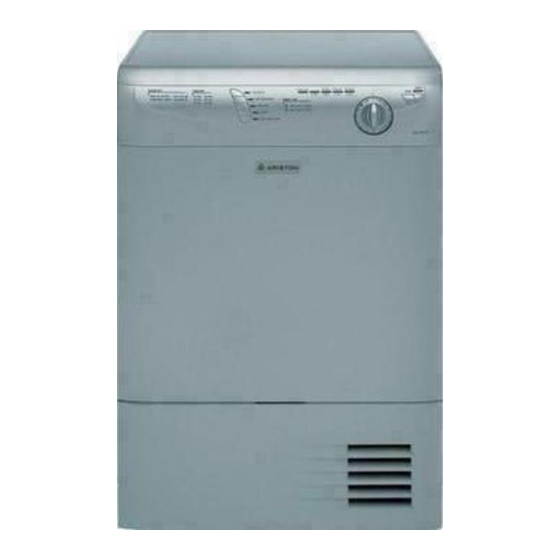
Ariston ASL75CXSNA 수리 매뉴얼 - 페이지 8
{카테고리_이름} Ariston ASL75CXSNA에 대한 수리 매뉴얼을 온라인으로 검색하거나 PDF를 다운로드하세요. Ariston ASL75CXSNA 18 페이지. Condensation dryer
Ariston ASL75CXSNA에 대해서도 마찬가지입니다: 데이터시트 (1 페이지)

6. DOOR SWITCH
7. CONDENSATION UNIT
• The Condensation Unit is located behind the Lower Access Door. To remove the Condensation Unit turn the three locking clips to
the open position (Fig. 7-1) and the complete Condensation Unit can be removed by pulling it forward (Fig. 7-2).
TECH NOTE: For best performance and operation the Condensation Unit should be cleaned once each month.
REPAIR MANUAL
Fig. 6-1
Fig. 7-1
• To remove the Door Switch (Fig. 6-1),
first remove the Control Panel (see
Section 4, page 4).
• Then push down on the locking tab and
lift the door switch from the frame cut
out (Fig. 6-2).
TECH NOTE: The Door Switch can be
removed and installed easier with the Door
Panel in the open position.
Fig. 6-2
ASL75CXS NA
Fig. 7-2
Page: 5
