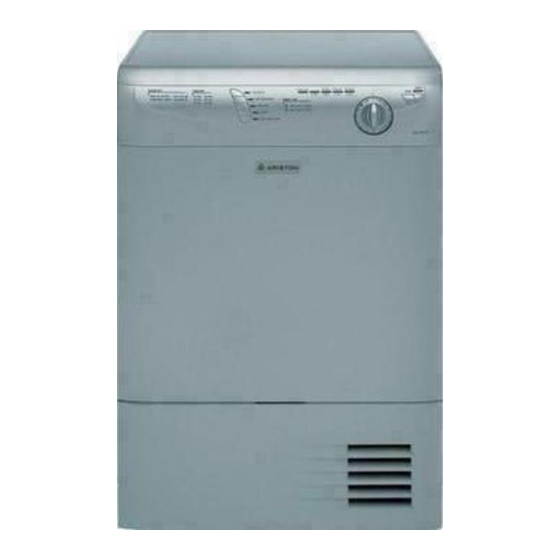
Ariston ASL75CXSNA Manual de reparação - Página 8
Procurar online ou descarregar pdf Manual de reparação para Secador Ariston ASL75CXSNA. Ariston ASL75CXSNA 18 páginas. Condensation dryer
Também para Ariston ASL75CXSNA: Ficha de dados (1 páginas)

6. DOOR SWITCH
7. CONDENSATION UNIT
• The Condensation Unit is located behind the Lower Access Door. To remove the Condensation Unit turn the three locking clips to
the open position (Fig. 7-1) and the complete Condensation Unit can be removed by pulling it forward (Fig. 7-2).
TECH NOTE: For best performance and operation the Condensation Unit should be cleaned once each month.
REPAIR MANUAL
Fig. 6-1
Fig. 7-1
• To remove the Door Switch (Fig. 6-1),
first remove the Control Panel (see
Section 4, page 4).
• Then push down on the locking tab and
lift the door switch from the frame cut
out (Fig. 6-2).
TECH NOTE: The Door Switch can be
removed and installed easier with the Door
Panel in the open position.
Fig. 6-2
ASL75CXS NA
Fig. 7-2
Page: 5
