FirePro FPC-2 작동 및 설치 매뉴얼 - 페이지 5
{카테고리_이름} FirePro FPC-2에 대한 작동 및 설치 매뉴얼을 온라인으로 검색하거나 PDF를 다운로드하세요. FirePro FPC-2 14 페이지. Fire control panel system isolation
FirePro FPC-2에 대해서도 마찬가지입니다: 운영 및 유지보수 매뉴얼 (7 페이지), 운영 및 유지보수 매뉴얼 (8 페이지), 빠른 시작 매뉴얼 (2 페이지)
3. Installation
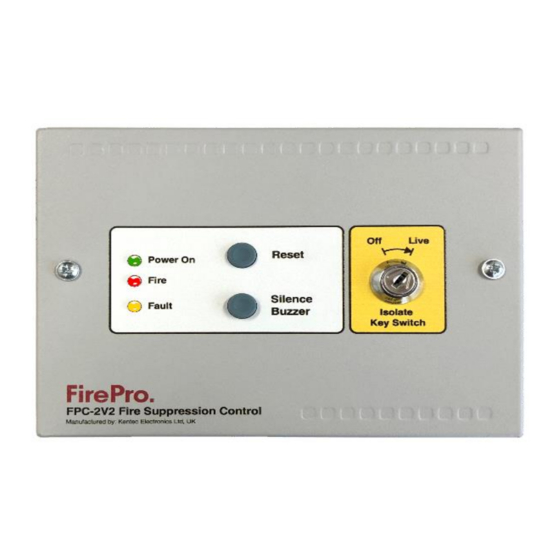
The front panel of the FPC-2 should be removed by loosening the two M4 fixing screws
holding it in place and put in a safe place along with the screws for fitting later.
The back box can then be used to mark the fixing position holes in the required place.
The box should be mounted with screws of a minimum 4mm diameter in all four fixing
positions.
Figure 1- Fixing centres of
mounting enclosure
The back box has a number of 20mm knockouts in the top, back and bottom. Remove
the knockouts required and fit 20mm cable glands and the required cables.
Figure 2 – Knockouts
If additional cable entries or cable entries in different positions to those provided are
required, these cable entries should now be drilled and any swarf or debris removed
from the enclosure.
Use proper 20mm glands and seal all unused openings properly
With all cables in position, connections can now be made to the circuit board mounted on
the front plate. All connections must be made with power off.
Man-1144 Protection controller Operation manual issue 04
188mm
134mm
USE MINIMUM 4mm DIAMETER FIXING
SCREWS IN ALL FOUR POSITIONS
20mm KNOCKOUTS IN TOP BACK AND BOTTOM OF ENCLOSURE
90mm
132mm
47mm
Page 4 of 11