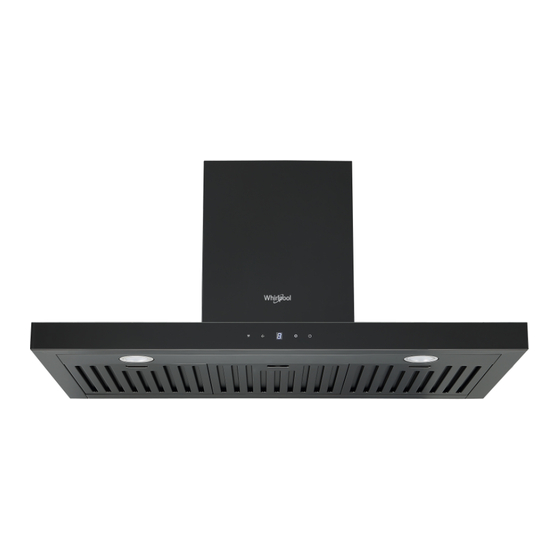
Whirlpool WT9BTABC 매뉴얼 - 페이지 10
{카테고리_이름} Whirlpool WT9BTABC에 대한 매뉴얼을 온라인으로 검색하거나 PDF를 다운로드하세요. Whirlpool WT9BTABC 19 페이지.

9. Put the cooker hood on the hook. See FIG 8.
(FIG 8)
10. Fix the body with 2pcs ST4*30mm safety screw. Note: The two safety vents are positioned on the
back housing, with diameter of 6mm. And then adjust the height of the inside chimney to the
position of inside chimney bracket and fix on it by screw(ST4*8mm). See FIG 9 & FIG 10.
Hints for Exhaust Duct Installation
The following rules must be strictly followed to obtain optimal air extraction result:
Keep expansion pipe short and straight.
Suggest to use φ 150*2m expansion pipe for the best performance.
When installing expansion pipe, always pull it tight to minimize loss on hood efficiency caused by
pressure.
Failure to observe and follow these instructions, cooker hood performance will be reduced and
noise level will be increased.
Installation work must be carried out by a qualified electrician or competent person.
Do not connect the ducting system of the hood to any existing ventilation system which is being
used by any other appliances, such as warmer tube, gas tube, hot wind tube.
The angle of the bend of the expansion pipe should not less than 120°; you must direct the pipe
horizontally, or, alternatively, the pipe should go up from the initial point and led to an outer wall.
After the installation, make sure that the cooker hood is level to avoid grease collection leak out
from one end. See FIG 11.
Ensure the expansion pipe selected for installation complies with relevant standards and is fire
retardant.
inside chimney
outside chimney bracket
outside chimney
(FIG 6)
(FIG 9)
9
expansion pipe
V-flap
FIG 7)
(
(FIG 10)
