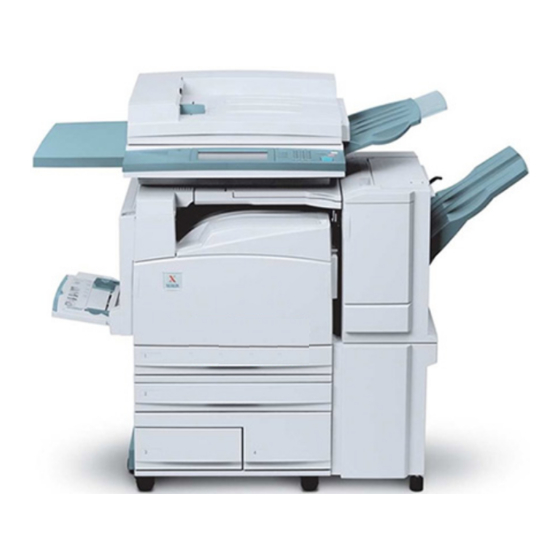
Xerox DocuColor 2240 문제 해결 매뉴얼 - 페이지 21
{카테고리_이름} Xerox DocuColor 2240에 대한 문제 해결 매뉴얼을 온라인으로 검색하거나 PDF를 다운로드하세요. Xerox DocuColor 2240 28 페이지. Scan using ftp server
Xerox DocuColor 2240에 대해서도 마찬가지입니다: 빠른 연결 매뉴얼 (2 페이지), 사양 (2 페이지), 안전 수칙 (15 페이지), 빠른 시작 매뉴얼 (4 페이지), 빠른 시작 매뉴얼 (4 페이지), 빠른 시작 매뉴얼 (6 페이지), 사용자 설명서 (36 페이지), 서비스 매뉴얼 (18 페이지)
Problem
Deletions on the copy
edges.
Copies made from
photographs show
color or background on
output edges
The copies made using
100% Reduce/Enlarge
feature do not include
the entire image along
the edge of the
document.
Output is too light
Output is too dark
Output has too much
contrast
Output has low
contrast
–
Edge deletion on all sides of the copy is normal, and is greatest
on the lead edge of the copy. Set the Border Erase feature,
Variable Erase option, to 4mm to minimize the deletion. Select
the size for the original document on the Scan Options tab and an
appropriate setting from the Reduce/Enlarge option from the
Basic Copying tab.
–
Moisture may be present in the paper. Load a fresh supply of
paper into the trays.
–
Some deletions may be caused by small pieces of paper
remaining in the printer/copier components after a paper jam has
been cleared. When clearing a paper jam, be sure to look for and
remove any paper fragments.
Most emulsions used to develop photographs have color. Sometimes
this color shows on the border of the photograph. To prevent the
color from being copied as part of the image or as background, use
one of the following suggested solutions:
–
Select Background Suppression in the Image Quality Presets
feature on the Image Quality tab.
–
Use the Border Erase feature on the Added Features tab to
deliberately erase the unwanted color or background from the
edge.
Select the Original Size feature and program the exact size of the
dark bordered document that you wish to copy.
Use the Lighter/Darker feature to select a darker level. Select the
Text or Maps option in the Original Type feature.
Use the Lighter/Darker feature to select a lighter level. Select the
Photo option in the Original Type feature
–
Select less Contrast (toward Lower) on the Light/Dark/Contrast
feature on the Image Quality tab.
–
Select less Color Saturation (toward Lower) on the Sharpness/
Saturation feature on the Image Quality tab.
–
Select more Contrast (toward Higher) on the Light/Dark/Contrast
feature on the Image Quality tab.
–
Select more Color Saturation (toward Higher) on the Sharpness/
Saturation feature on the Image Quality tab.
U
G
S E R
U I D E
Suggested Solution
( T
)
R O U B L E S H O O T I N G
5 – 1 7