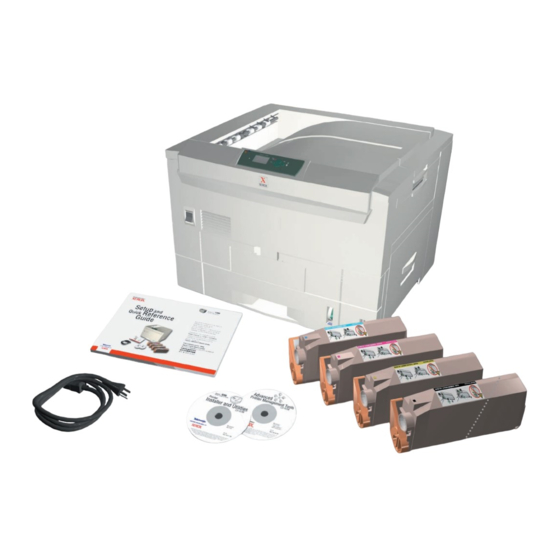
Xerox Phaser 7300DN 종이 매뉴얼 - 페이지 15
{카테고리_이름} Xerox Phaser 7300DN에 대한 종이 매뉴얼을 온라인으로 검색하거나 PDF를 다운로드하세요. Xerox Phaser 7300DN 34 페이지. Quick reference guide
Xerox Phaser 7300DN에 대해서도 마찬가지입니다: 문제 해결 매뉴얼 (40 페이지), 특징 (1 페이지), 브로셔 및 사양 (4 페이지), 사용자 설명서 (50 페이지), 기능 설명서 (40 페이지), 지원 매뉴얼 (28 페이지), 설정 매뉴얼 (18 페이지), 설정 및 빠른 참조 매뉴얼 (45 페이지)

When you use standard size paper in Tray 1 and adjust the guides for that paper, you don't need to
specify the paper size in the front panel. Tray 1 contains size sensors that automatically inform the
printer about the paper size. However, when you insert custom size paper in the tray and change
to
, the size sensors are turned off and you must enter the X and Y values as
Custom Size
On
described in Step 4. If you later insert standard size paper in the tray, you must turn on the tray sensors
again by changing
Custom Size
1.
On the front panel, with
2.
Scroll to
Printer Setup Menu
3.
Scroll to
Tray Setup Menu
4.
Scroll to
Tray # Setup Menu
5.
If you see a selection for
change
Custom Size
Phaser® 7300 Color Printer
to
:
Off
highlighted, press the OK key.
Menus
(by pressing the Down Arrow key) and press the OK key.
and press the OK key.
(where # is the number of the tray) and press the OK key.
, scroll to
Set Custom X
to
. This reactivates the tray sensors for that tray.
Off
and press the OK key to
Custom Size
Trays
10
