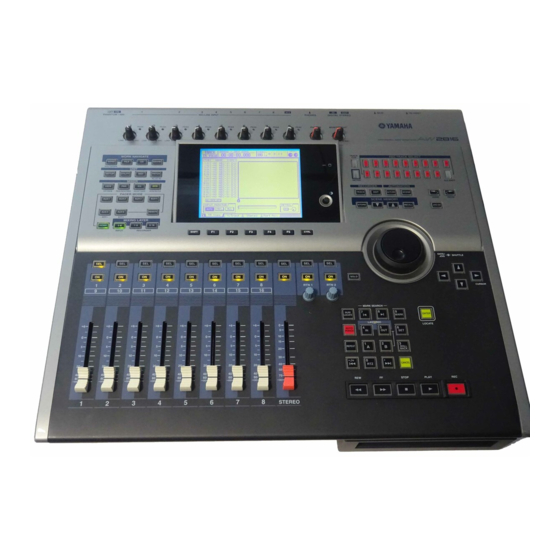
Yamaha AW2816 튜토리얼 - 페이지 3
{카테고리_이름} Yamaha AW2816에 대한 튜토리얼을 온라인으로 검색하거나 PDF를 다운로드하세요. Yamaha AW2816 31 페이지. Professional audio workstation, recording101
Yamaha AW2816에 대해서도 마찬가지입니다: 운영 매뉴얼 (2 페이지), 업데이트 매뉴얼 (2 페이지), 매뉴얼 (32 페이지)

Contents
Introduction........................................ 1
About this tutorial ......................................... 1
Contents ............................................. 2
Recording on the AW2816 ................. 3
Creating a new song ...................................... 3
Recording the rhythm section........................ 3
Using two mics to record the rhythm ............ 3
Connect the mics to the AW2816 ................ 3
disk............................................................ 4
Play back the recorded sound ...................... 4
What is tempo data on the AW2816 ............ 5
your sequencer............................................ 6
Switching scene memories ........................... 6
Tips - vocal recording.................................. 6
Overdubbing ................................................. 7
Switching virtual tracks ................................ 7
effects?....................................................... 7
tored .......................................................... 7
Restoring the demo song................... 8
Restoring to the hard disk.............................. 8
Loading the demo song from hard disk.......... 8
Mixdown............................................. 9
your plans.................................................... 9
Let's begin ................................................... 9
Step 2. Setting up a rough mix..................... 10
Start with the kick and snare ...................... 10
Adding the drum overhead tracks .............. 10
Adding the hi-hat ....................................... 10
Adding the acoustic bass............................ 10
Adding the percussion ............................... 10
Adding the acoustic guitar ......................... 10
Adding the piano ....................................... 10
Adding the synthesizer............................... 11
Adding the organ ....................................... 11
Adding the electric guitar........................... 11
Adding the lead vocal ................................ 11
Adding the chorus...................................... 11
Listening to the rough mix.......................... 11
Saving the song.......................................... 11
Saving the scene ........................................ 11
2
Contents
Channels 3/4: Drum overhead mics............13
Channel 5: Hi-hat .......................................14
Channel 6: Acoustic bass............................14
Channel 7: Percussion ................................15
Channel 8: Acoustic guitar..........................16
Channel 9: Piano ........................................16
Channel 10: Synthesizer .............................17
Channel 11: Organ .....................................17
Channel 12: Electric guitar..........................18
Channels 13/14/15: Chorus ........................18
Channel 16: Lead vocal ..............................19
Saving the song...........................................19
Step 4. Adding ambience..............................20
Adding ambience to tracks as needed.........20
Channels 1/2: Kick and snare......................21
Channel 7: Percussion ................................21
Channel 8: Acoustic guitar..........................21
Channel 9: Piano ........................................21
Channel 10: Synthesizer .............................21
Channel 11: Organ .....................................21
Channel 12: Electric guitar..........................21
Channels 13/14/15: Chorus ........................21
Channel 16: Lead vocal ..............................21
mation settings ...........................................22
Automix ................................................... 22
Listen to the recorded automix ....................22
tomix..........................................................22
Main contents of automix ........................ 23
Mastering ......................................... 24
Accurate monitoring is essential! ................24
Setting master EQ and dynamics ..................24
Equalizer (EQ).............................................24
Compressor ................................................25
song..........................................................25
Recording the song to the stereo track.........25
Writing the song to a CD-R disc...................25
The next step.................................... 26
Glossary ............................................ 27
Tutorial
