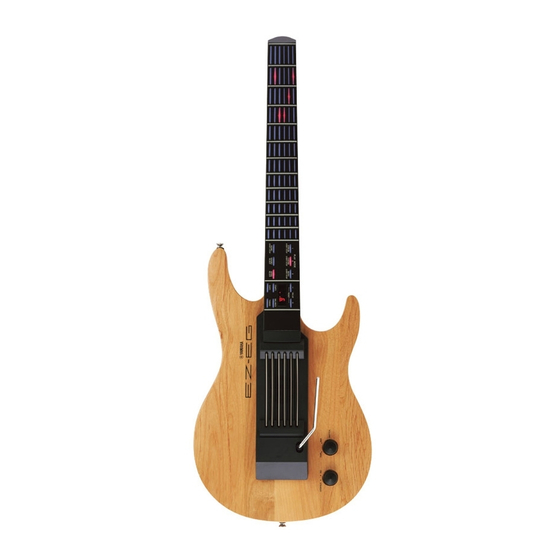
Yamaha EZ-EG 서비스 매뉴얼 - 페이지 7
{카테고리_이름} Yamaha EZ-EG에 대한 서비스 매뉴얼을 온라인으로 검색하거나 PDF를 다운로드하세요. Yamaha EZ-EG 34 페이지. Song chord chart
Yamaha EZ-EG에 대해서도 마찬가지입니다: 소유자 매뉴얼 (2 페이지), 짧은 설명서 (2 페이지), 보충 설명서 (3 페이지)

DISASSEMBLY PROCEDURE
1.
Lower Case Assembly
(Time required: about 5 minutes)
1-1
Pull out the POWER knob and the VOLUME knob. (Fig. 1)
1-2
Remove the seven (7) screws marked [150]. The lower case
assembly can then be removed. (Fig. 2)
2.
AM-1 Circuit Board
(Time required: about 5 minutes)
2-1
Remove the lower case assembly. (See procedure 1.)
2-2
Remove the six (6) screws marked [L120]. The AM-1 cir-
cuit board can then be removed. (Fig. 3)
VOLUME knob
VOLUME knob
* The knobs differs from the product.
[150]
[150]
[150]: Pan Head Tapping Screw-1 3.5X12 MFZN2BL (V9401100)
4.
Sensor Holder A, Sensor Holder B, Speaker,
AM-2 Circuit Board
(Time required: about 25 minutes)
4-1
Remove the lower case assembly. (See procedure 1.)
4-2
Remove the DM circuit board. (See procedure 3.)
4-3
Remove the four (4) screws marked [210]. The two (2) stop-
per can then be removed. (Fig. 5)
4-4
Remove the four (4) screws marked [80]. The sensor holder
A and the sensor holder B can then be removed. (Fig. 5)
4-5
Remove the four (4) screws marked [100]. (Fig. 5)
A (Speaker terminals)
Speaker
AM-2
[80]: Bind Head Tapping Screw-P 3.0X8 MFZN2BL (EP630220)
[100]: Bind Head Tapping Screw-P 3.0X8 MFZN2BL (EP630220)
POWER knob
POWER knob
(Fig. 1)
Lower case assembly
Lower case assembly
[150]
[150]
(Fig. 2)
B (Speaker wire)
Stopper
[210]
Sensor holder B
3.
DM Circuit Board
(Time required: about 10 minutes)
3-1
Remove the lower case assembly. (See procedure 1.)
3-2
Remove the four (4) screws marked [220]. The DM circuit
board can then be removed. (Fig. 4)
• Lower Case Assembly
[L120]
[L120]
[L120]: Bind Head Tapping Screw-P 3.0X8 MFZN2BL (EP630220)
[220]: Bind Head Tapping Screw-P 3.0X8 MFZN2BL (EP630220)
4-6
Pull out the speaker by lifting the AM-2 circuit board about
a little. (Fig. 5)
4-7
Remove the solder from the two locations shown as A (the
speaker terminals). The speaker can then be removed. (Fig. 5)
4-8
Remove the solder from the two locations shown as B (the
speaker wire) and then remove the solder from the twelve
locations shown as C (the sensor wire). The AM-2 circuit
board can then be removed. (Fig. 5)
Sensor holder A
[100]
[100]
[210]
[210]
Stopper
[100]
[100]
[210]
[80]
C (Sensor wire)
[210]: Bind Head Tapping Screw-P 2.0X6 MFZN2BL (VG893800)
(Fig. 5)
[L120]
[L120]
AM-1
[L120]
[L120]
(Fig. 3)
DM
[220]
[220]
[220]
[220]
[220]
[220]
[220]
[220]
(Fig. 4)
[80]
AM-2
EZ-EG
7
