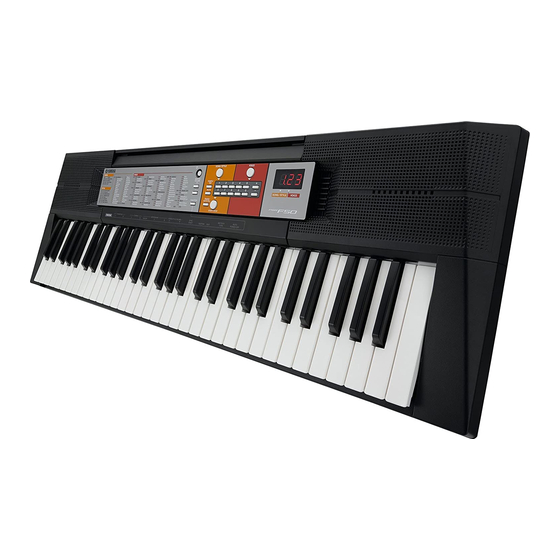
Yamaha PSR-F50 서비스 매뉴얼 - 페이지 17
{카테고리_이름} Yamaha PSR-F50에 대한 서비스 매뉴얼을 온라인으로 검색하거나 PDF를 다운로드하세요. Yamaha PSR-F50 28 페이지. Yamaha digital keyboard
Yamaha PSR-F50에 대해서도 마찬가지입니다: 소유자 매뉴얼 (21 페이지), 소유자 매뉴얼 (21 페이지), 소유자 매뉴얼 (21 페이지), 소유자 매뉴얼 (18 페이지), 소유자 매뉴얼 (21 페이지), 소유자 매뉴얼 (4 페이지)

■ TEST PROGRAM
* If the test number 60 "Factory Set" is executed, the data already set will be lost.
1
Preparations
1) Use an AC adaptor PA-3C or PA-130A.
2) Measuring device: Frequency counter, which can detect thousandth value or more, Level meter (with JIS-C filter), Oscilloscope
* Input impedance of the measuring device should be 1 MΩ or more.
3) Terminal condition:
Use a stereo plug and connect a load resistor of 33 Ω to the [PHONES/OUTPUT] jack for measurement unless
otherwise specified.
4) Controller settings
Initial setting when the power is turned on
2
Starting up the test program
Manual mode
While holding down the keys [C#2], [F2] and [G#2] simultaneously, press the [STANDBY/ON] switch
Auto mode
While holding down the keys [C#3], [F3] and [G#3] simultaneously, press the [STANDBY/ON] switch.
Executed sequentially from [1] to [7] of auto mode test item.
3
Test procedure
Manual mode
1) When the test program is started, " TST " will be displayed on the 7-segment LED.
2) Press the [Tenkey –] or [Tenkey +] button to select a test program item.
3) Press the [START/STOP] button to execute the test.
If the result is OK or test item is completed, press the [START/STOP] button again to return to the item selection display.
Press the [Tenkey –] or [Tenkey +] button to select the next test item.
In the acceptable selection screen, each character of the item number will be followed by dot "." on the 7-segment LED,
so that you can see later if it has already been checked.
If the result is NG, press the [SONG/STYLE] button or the lowest key (white key C1) to return to the item selection display.
Auto mode
The operation method follows a manual mode.
PSR-F50
17
