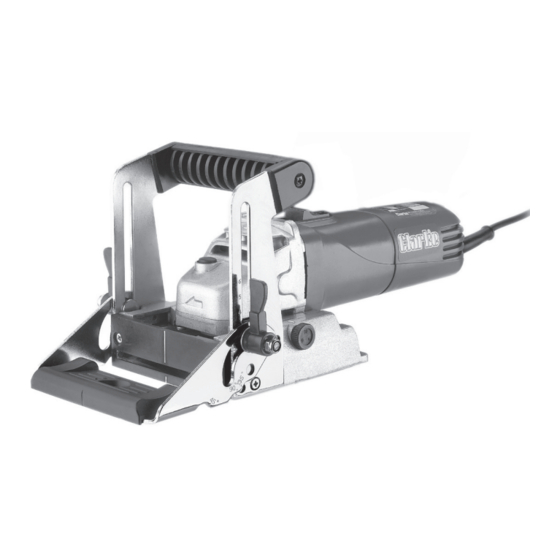
Clarke 6462070 사용자 지침 - 페이지 12
{카테고리_이름} Clarke 6462070에 대한 사용자 지침을 온라인으로 검색하거나 PDF를 다운로드하세요. Clarke 6462070 17 페이지. Biscuit jointer

ALWAYS switch off and isolate from the mains supply by removing the plug from
the mains socket BEFORE changing the blade.
1.
Remove the kerf guide by unscrewing the
two screws with a cross head screwdriver.
(circled in fig.3).
2.
Place the biscuit jointer upside down on a
workbench. Remove the plastic insert disc
on the base plate by inserting a small
slotted screwdriver into the recess slot and
levering it out. (circled in fig.4).
3.
Depress the spindle lock, and using
a peg spanner in the holes circled
in fig.5 undo the flange nut by
turning the spanner anticlockwise.
4.
Push the body of the jointer forward
to expose the blade allowing it to
be removed.
5.
When inserting a new blade push the
body of the jointer forward to allow
the blade to be passed over the spindle.
6.
To ensure the blade is in the correct position over the spindle, manually turn
the blade (blade should rotate freely) the arrow on the case indicates the
direction of rotation.
7.
Replace the flange nut by pushing down on the spindle lock button and
tightening the flange with a peg spanner.
8.
Replace the plastic insert disc making sure that it is firmly in position and is
flush with the outer base housing.
9.
Replace the kerf guide and tighten the two cross head screws making sure
that the slot in the kerf guide lines up with the blade and the guide does not
protrude beyond the base plate.
BLADE REPLACEMENT
- 11 -
Fig.4
Fig.3
Fig.5
