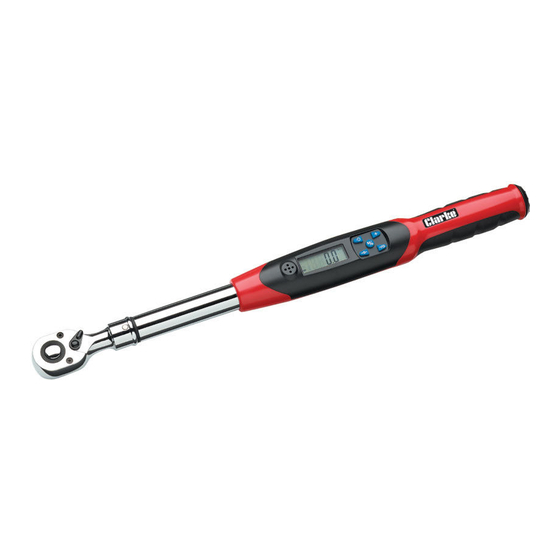
Clarke PRO237 운영 및 유지 관리 지침 - 페이지 11
{카테고리_이름} Clarke PRO237에 대한 운영 및 유지 관리 지침을 온라인으로 검색하거나 PDF를 다운로드하세요. Clarke PRO237 12 페이지. Digital torque wrench

4. Never apply force with the torque wrench when the power is off. Always
turn the unit on before using it.
5. Take care not to damage the LCD display.
6. Take care not to drop the wrench and re-set it as described under
MAINTENANCE & CALIBRATION, should it be subject to sudden shock.
7. Never press the
8. Never use the wrench to undo bolts & nuts which may be excessively
tight. Very tight nuts and bolts should be loosened with a standard wrench
and the torque wrench used only for re-tightening.
9. Do not expose the wrench to extreme temperature, humidity or direct
sunlight for extended periods.
STORAGE
• If the wrench is not to be used for long periods of time it is advisable
to remove the batteries to avoid the risk of leaking.
• Store in a clean, dry environment away from excess heat, humidity
or dust.
CLEANING
1. Clean the wrench by wiping the tool and the display with a soft cloth.
Never immerse it in water or any type of solvent or cleaning fluid.
MAINTENANCE & CALIBRATION
1. Never attempt to dismantle the wrench.
2. To maintain the accuracy of the wrench periodically re-set to zero by
holding the
• The wrench has been calibrated at the factory in order to ensure
accurate readings and should not require any re-calibration. The
original calibration certificate should be supplied with the unit.
3. If inaccuracy is suspected, contact your local Clarke dealer.
BATTERY USE AND CARE
1. If when switching on, there is no reading on the display, or the 'Battery
Condition Indicator' on the panel is empty, the batteries must be
replaced.
2. Never combine used batteries with old ones or mix battery types.
3. Never use a battery if it is cracked or damaged.
4. Always dispose of old batteries appropriately. Never either dump or
incinerate old batteries.
Parts & Service: 020 8988 7400/E-mail:[email protected] or [email protected]
button to turn the wrench off while force is applied.
and
buttons together.
11
