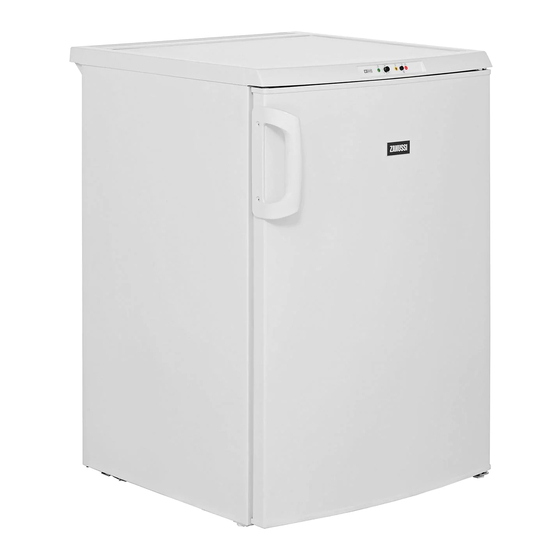
Zanussi ZFT11100XA 사용자 설명서 - 페이지 10
{카테고리_이름} Zanussi ZFT11100XA에 대한 사용자 설명서을 온라인으로 검색하거나 PDF를 다운로드하세요. Zanussi ZFT11100XA 16 페이지. Zanussi freezer user manual
Zanussi ZFT11100XA에 대해서도 마찬가지입니다: 사용자 설명서 (16 페이지)

10 mm to allow the door to open enough so
that the shelves can be removed.
Warning!
min.
100 mm
15 mm
15 mm
1. Remove the plug
from the power socket.
2. Tilt back the appli-
ance carefully so that
the compressor can-
not touch the floor.
3. Unscrew the left
foot.
Do a final check to make sure that:
• All screws are tightened.
• The door opens and closes correctly.
If the ambient temperature is cold (i.e. in Win-
ter), the gasket may not fit perfectly to the cabi-
net. In that case, wait for the natural fitting of the
gasket.
In case you do not want to carry out the above
mentioned operations, contact the nearest After
Sales Service Force. The After Sales Service
10
4. Remove the lower
door hinge by un-
screwing the 2 retain-
ing screws.
5. Remove the hinge
pin from the bottom of
the door.
6. Slot the hinge pin
into the hole in the
hinge plate.
7. Take the door off.
8. Refit the upper
hinge pin into the op-
posite location.
9. Fit the door in place
on the hinge pin.
It must be possible to disconnect the appliance
from the mains power supply; the plug must
therefore be easily accessible after installation.
Door reversibility
Important! To carry out the following
operations, we suggest that this be made with
another person that will keep a firm hold on the
doors of the appliance during the operations.
To change the opening direction of the door, do
these steps:
10. Slot the hinge pin
into the hole in the
hinge plate and relo-
cate the hinge assem-
bly to the opposite lo-
cation and refit using
the retaining screws.
11. Refit the bottom
hinge plate assembly
on the opposite side,
taking care that the
edge of the door is
parallel with the side of
the cabinet.
specialist will carry out the reversibility of the
doors at your cost.
Electrical Connection
Caution! Any electrical work required to
install this appliance should be carried out
by a qualified electrician or competent person.
Warning! This appliance must be earthed.
The manufacturer declines any liability
should these safety measures not be observed.
12. Remove and install
the handle (if foreseen)
on the opposite side.
13. Reposition, level
the appliance, wait for
at least four hours and
then connect it to the
power socket.
www.zanussi.com
