Aleko Victoria Series 설치 매뉴얼 - 페이지 7
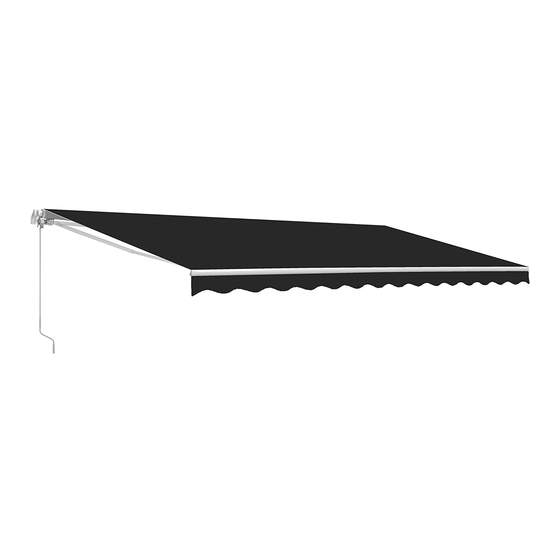
{카테고리_이름} Aleko Victoria Series에 대한 설치 매뉴얼을 온라인으로 검색하거나 PDF를 다운로드하세요. Aleko Victoria Series 17 페이지. Sizes 6.5x5 8x6.5 10x8
Aleko Victoria Series에 대해서도 마찬가지입니다: 설치 매뉴얼 (20 페이지), 설치 및 사용 설명서 지침 (12 페이지), 조립 설명서 (14 페이지)
� ASSEMBLY
STEP 1: Preparing Your Work Space
1. Bef o re you begin, it is best to lay out all necessary tools to make setup smoother. Consult the required tools section
for the list of necessary tools.
I
WARNING
Serious injury can result from removing the wrap too soon.
•
2. Open the awning box and unwrap each piece carefully to avoid damaging the product.
3. Lay out each piece of the awning to ensure that all pieces are present. Consult the parts diagram for detailed
inf o rmation regarding parts.
4. Open the small, inner box that contains the small parts and lay them out as well.
Note: The motor can be installed either on the left or right side.
STEP 2: Connecting Roller Tubes
1. Gather the two long, silver roller tubes
2. Also gather the one short, silver connector tube
below.
3. Insert the connector tube
it into place. One inserted, screw
4. At this time, the connector tube
A portion of the connector piece will stick out of the roller tube until step 5.
5. Now, connect the second remaining roller tube
place, just like in step 3.
6. At this time, you will have one full-length roller, with both roller tubes connected and screwed securely into place.
DO NOT remove the safety wrap that holds the awning arms down.
(A-1
A-2)
and
(A-3)
A-1
(A-3)
into the interior end of the roller tube
(A-A-1)
it into place.
(A-3)
will be connected to one of the two roller tubes
A-1
(A-1)
A-1
and lay them in a line.
and lay it between the two roller tubes, as seen in the diagram
A-3
Steps 7 and 2
(A-2).
A-3, ,
A A
A-A-1
Steps 3 and 4
to the other side of the connector tube
'If
'If
A A
Steps 5 and
6
5
A-2
If insertion is difficult, use a mallet to tap
(A-2)
and secured with screws.
A-2
(A-3)
and screw it into
A-2