Clarke Contractor CROS2 운영 및 유지 관리 지침 - 페이지 6
{카테고리_이름} Clarke Contractor CROS2에 대한 운영 및 유지 관리 지침을 온라인으로 검색하거나 PDF를 다운로드하세요. Clarke Contractor CROS2 12 페이지. Random orbital sander

PREPARATION
Fitting Sanding Disk
Note :
Only use disks which have a velcro fixing capacity on the rear.
a) Ensure sander is switched OFF and plug is removed from mains socket.
b) Line up holes in disk with those on the machine pad. (This is necessary for dust
extraction), press disk firmly on to pad to secure it.
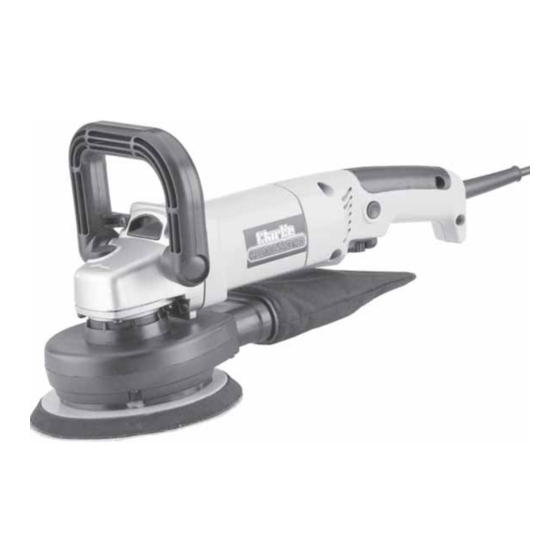
Handgrips
Your sander is fitted with two handgrips to ensure full control of the machine.
•
Main handgrip (handle) with ON/OFF switch and power cable.
•
Support grip.
Dust Collection
To fit the dust bag to your sander, slide the dust bag assembly, firmly over the dust
outlet, on the sander.
Note :
Dust bag must be emptied regularly, do not wait until it is completely full.
To Empty The Dust Bag
a) Ensure the sander is switched OFF and the plug has been removed from socket.
b) Remove dust bag assembly from sander by gently pulling it off of the dust outlet.
c) Take dust bag assembly to dustbin and slip bag off, (bag has elasticated top),
empty bag into bin.
d) Reassemble dust bag assembly and reattach it back on to the sander.
dust outlet
6
dust bag
