Lenovo ThinkPad T Series 문제 해결 매뉴얼 - 페이지 7

{카테고리_이름} Lenovo ThinkPad T Series에 대한 문제 해결 매뉴얼을 온라인으로 검색하거나 PDF를 다운로드하세요. Lenovo ThinkPad T Series 8 페이지. Chinese traditional - setup guide for thinkpad t40
Lenovo ThinkPad T Series에 대해서도 마찬가지입니다: (설치 가이드 (8 페이지), (프랑스어) 설치 설명서 (8 페이지), (포르투갈어) 설치 가이드 (8 페이지), (영어) 설치 가이드 (8 페이지), (독일어) 배송 매뉴얼에 포함된 체크리스트 (8 페이지), (스웨덴어) 설치 지침 (8 페이지), (네덜란드어) 설치 매뉴얼 (8 페이지), (영어) 설치 가이드 (9 페이지), (노르웨이어) 설치 가이드 (8 페이지), (러시아어) (8 페이지), (헝가리어) 설정 매뉴얼 (8 페이지), 설정 매뉴얼 (7 페이지), 설정 매뉴얼 (8 페이지)
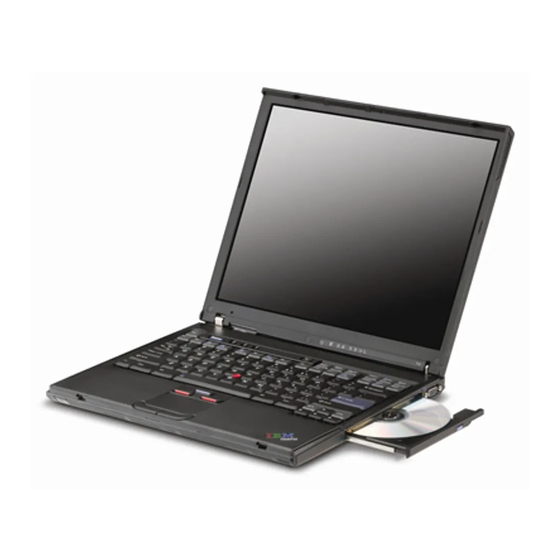
Lenovo ThinkPad T Series 문제 해결 매뉴얼
To make sure that the SO-DIMM is installed correctly, do as follows:
1. Turn the computer on.
2. While the "To interrupt normal startup, press the blue Access IBM button" message is
displayed at the lower-left of the screen, press the Access IBM button.
3. Select Start setup utility. The BIOS Setup Utility screen opens. The "Installed memory" item shows the total amount of
memory installed in your computer.
For example, if your computer has 256 MB of memory and you install a 256-MB SO-DIMM in it, the quantity shown in
"Installed memory" should be 512 MB.
To replace the SO-DIMM shipped with your computer, do as follows:
1. Turn off the computer; then disconnect the ac adapter and all cables from the computer.
2. Close the computer display, and turn it over.
3. Remove the battery.
4. Remove the keyboard (refer to the procedure in Replacing the Mini-PCI Card in your on-line help system, Access IBM).
5. To replace the SO-DIMM, follow the procedure on page 6, steps 5 to 8.
6. Reinstall the keyboard (refer to the procedure in Replacing the Mini-PCI Card in your on-line help system, Access IBM).
7. Put the battery back in place, turn the computer over again, and reconnect the cables.
7