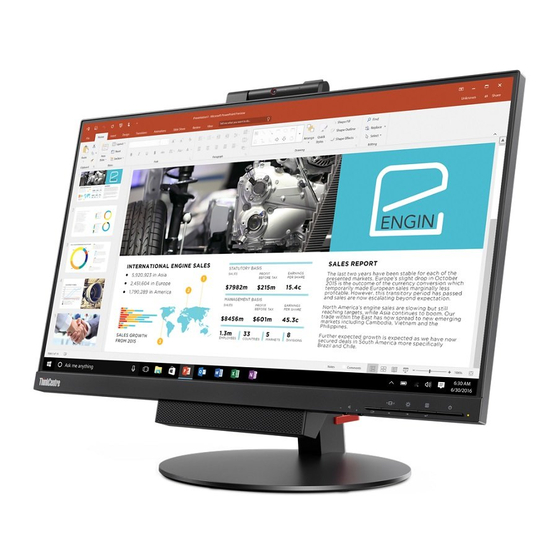
Lenovo 10QX-PAR1-WW 사용자 설명서 - 페이지 20
{카테고리_이름} Lenovo 10QX-PAR1-WW에 대한 사용자 설명서을 온라인으로 검색하거나 PDF를 다운로드하세요. Lenovo 10QX-PAR1-WW 49 페이지.

Wall Mounting (Optional)
Installing the monitor driver
Refer to the instructions that come with the base mounting kit. To convert your LCD display
from a desk-mounted to a wall-mounted display, do the following:
Step 1: Verify that the Power button is turned Off, then disconnect the power cord.
Step 2: Lay the LCD display face down on a towel or blanket.
Step 3: Remove the base and stand from the monitor.
Step 4: Attach the mounting bracket from the VESA compatible wall mounting kit (100mm
x100mm distance), the type of VESA mounting screw is M4 x 10 mm.
Step 5: Attach the LCD display to the wall, and follow the instructions in the wall-mounting
kit.
For use only with UL Listed Wall Mount Bracket with minimum weight/load: 8kg
To enjoy a better monitor performance, it is recommended that you install the monitor driver before using
the monitor.
To install the monitor driver, do one of the following:
•
If the optical drive is available, insert the CD that comes with the monitor into the optical
drive. Then, follow the instructions on the screen.
•
If the optical drive is not available, download the driver from the Lenovo Web site at
http://support.lenovo.com/docs/TIO24Gen3Touch. Then, follow the instructions in
following illustration shows that you can rotate clockwise the monitor at an angel of -5° to
the left and 90° to the right."on page 2-2.
VESA hole
4."The
2-5
Chapter 2.
