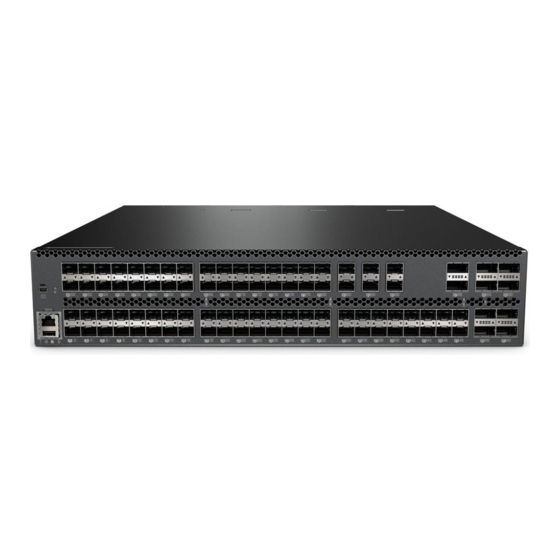
Lenovo RackSwitch G8296 빠른 시작 매뉴얼 - 페이지 14
{카테고리_이름} Lenovo RackSwitch G8296에 대한 빠른 시작 매뉴얼을 온라인으로 검색하거나 PDF를 다운로드하세요. Lenovo RackSwitch G8296 22 페이지. Onie for lenovo network operating system

Installing ONIE
Installing ONIE on CNOS
1. Download an ONIE image for the switch from the following link:
2. Upload the ONIE image to a local server or a USB drive.
3. Connect to the switch using the mini-USB serial console port. For more details, see
4. After connecting to the switch, enter Privileged EXEC configuration mode:
5. Use one of the following commands to copy the ONIE image:
14
Lenovo ONIE Quick Start Guide for G8296
Only after you have successfully installed the appropriate FoD license key, you will
be able to install ONIE on the switch. For more details, see
FoD License Key" on page
To install ONIE on the switch running Cloud NOS, use the following steps:
Note: The commands used to install ONIE on the switch will display an error if the
ONIE license key is not installed.
http://support.lenovo.com/
For CNOS, the ONIE image is called Lenovo Rackswitch G8296 [ONIE]
10.x.x.0.
"Connecting to the G8296" on page
G8296> enable
G8296#
using FTP, SCP, SFTP, or TFTP:
cp ftp <FTP URL> system-image onie [vrf management]
cp scp <SCP URL> system-image onie [vrf management]
cp sftp <SFTP URL> system-image onie [vrf management]
cp tftp <TFTP URL> system-image onie [vrf management]
using a USB drive:
cp usb1 <file path> system-image onie [vrf management]
12.
6.
"Installing the ONIE
