Disaster Area Designs SMARTClock Gen3 사용자 설명서 - 페이지 4
{카테고리_이름} Disaster Area Designs SMARTClock Gen3에 대한 사용자 설명서을 온라인으로 검색하거나 PDF를 다운로드하세요. Disaster Area Designs SMARTClock Gen3 9 페이지.
Connecting the SMARTClock Gen3
There are several ways to connect your devices:
Tap Tempo Outputs:
If you are sending taps to a Boss pedal, then you should configure its output to normally-closed using the Setup menu.
If you are sending taps to the EXP jack of a Strymon pedal, then you will need to use a TRS cable and set its output to Pull-up
using the DIP switches inside the SMARTClock.
If you are using a Strymon pedal that has been modified for tap by adding a jack (ex. El Capitan) then connect using a
standard mono cable and set its output pull-up to OFF using the DIP switches inside the SMARTClock.
MIDI Output:
Disaster Area Designs
Connect your device's tap tempo input jack to one of the available tap tempo outputs on the SMARTClock
using a standard mono patch cable. All four outputs are configured to control normally-open tap tempo
inputs, which is the most common type.
Connect the MIDI output of the SMARTClock to the MIDI input of your pedal. If you are connecting multiple
MIDI pedals, you may be able to "daisy-chain" from the output of the first MIDI device to the input of the
second device, and so on. Consult the documentation for your MIDI pedals to see whether their MIDI
outputs can function as MIDI Thru. You may also need to enable MIDI Clock on your pedals. On Strymon
pedals this setting is in the Globals as MIDICL = ON.
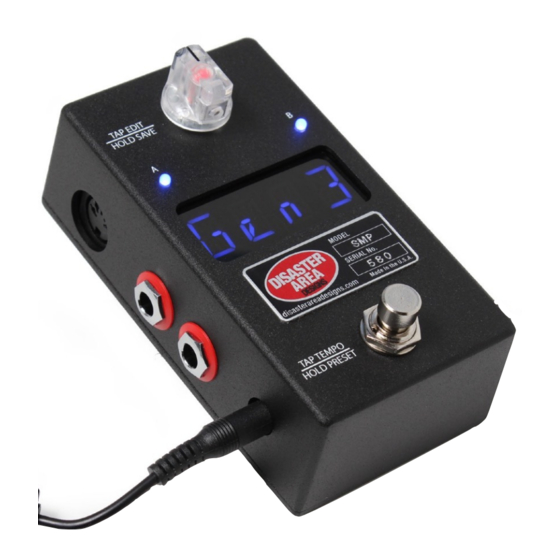
SMARTClock
Gen3
4
of
9