DiscoSmash DSR-X20 사용자 설명서 - 페이지 7
{카테고리_이름} DiscoSmash DSR-X20에 대한 사용자 설명서을 온라인으로 검색하거나 PDF를 다운로드하세요. DiscoSmash DSR-X20 17 페이지.

4. ADDING NEW SAMPLES
If you want new sounds, you can choose to record them by
yourself (i.e. from your microphone, cd-player,...) or copy
them from the external memory. you can put sounds on
this external memorycard using your PC, copy from another
DSR-X20, buy cards from Discosmash with spoken texts or
sound effects,...).
4.1 Recording
To record your own samples, do the following:
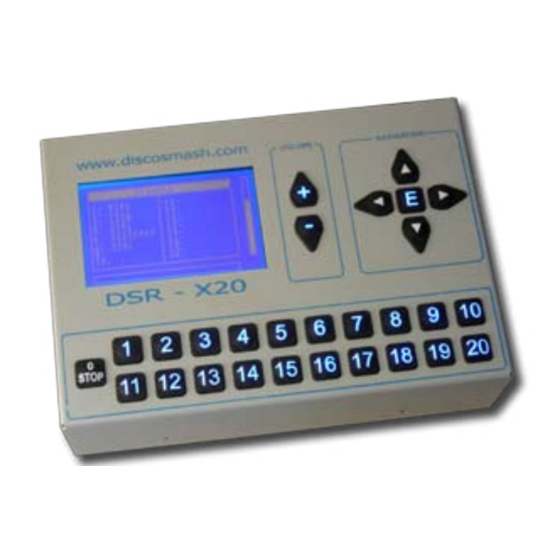
• Open the main menu by pushing "E".
• Go to "Samples" (1).
• Open "New sample" (1).
• Choose "Record new sample" (2).
Now you have to choose if you want to record from:
• the input (connections marked with IN) (1).
• a Discosmash preamplifier (PA) (2).
After choosing this you can enter a name for your new
sound using the up, down, left and right buttons (up/down
to choose another letter, left right to go to the next or
previous letter of the name).
• When the name is complete, push "E".
• To start the recording, push "E" again. A counter will show
you how much time has been recorded already.
• You can stop the recording with pushing "STOP". The
recorded sample will now be saved
• After this is complete, you can push "E" to continue and
you will get back in the "New sample" menu.
• Before you can use this new sample it has to be mapped
to 1 of the 20 preset buttons. You can read how to do this in
chapter 5.5.
HINT:
You can adjust the beginning and end-points later, so make
sure you start recording on time, and don't stop too early.
You can still cut the sound later to make it perfectly like you
wanted.
