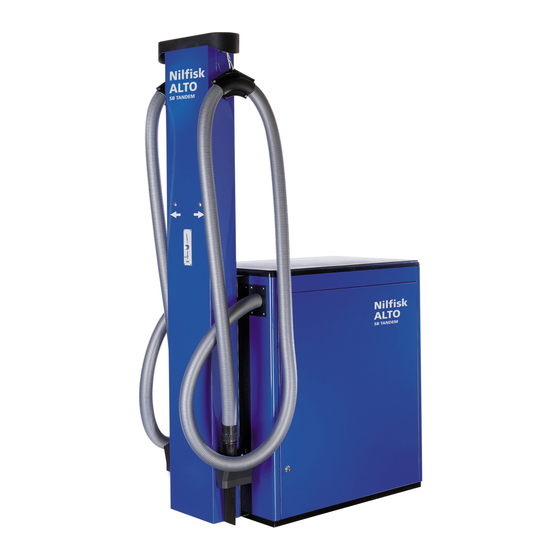
Alto SB Tandem 사용 설명서 - 페이지 11
{카테고리_이름} Alto SB Tandem에 대한 사용 설명서을 온라인으로 검색하거나 PDF를 다운로드하세요. Alto SB Tandem 17 페이지. Self service vacuum cleaner
Alto SB Tandem에 대해서도 마찬가지입니다: 사용 설명서 (12 페이지), (폴란드어) 사용자 설명서 (12 페이지)

FITTING THE
CONNECTING
ELBOW, HOSE
HOLDER AND
CREVICE NOZZLE
•
Fit the adapter ring
(Fig. 1, No. 8) over the
connection on the dirt
tank.
NOTE!
The connecting elbow
opening should point
upwards.
(Fig. 5)
•
Screw adapter fitting
(Fig. 6, Item 2) approx.
35 mm onto suction
hose (Fig. 6, Item 1).
Plug adapter fitting
with suction hose into
connecting elbow (Fig.
6, Item 3).
NOTE!
Push the suction hose
into the housing only
far enough that the
suction unit can still
swing freely when the
suction hose is
connected. This is
important so that the
suction unit fits air-
tight onto the dirt
tank when lowered.
•
Secure the suction
hose with the metal
bracket.
(Fig. 7).
•
Secure the hose
bracket to the suction
hose approx. 1.30 m
from the end of the
hose. (Fig. 8).
•
Remove screw from
clamping piece and
detach rope end.
Guide the rope
through the eye at
the hose holder. Hook
up rope end to
clamping piece and
secure with screw.
(Fig. 9). . . . .
•
Screw the crevice
nozzle onto the end
of the hose (left-hand
thread).
OPTIONAL
ACCESSORIES
Hose holder
It is also possible to
operate the SB Station
without the hose
retractor.
Secure the hose holder to
the existing bores with
screws.
After work, the hose is
simply placed into the
hose holder. (Fig. 10).
Art. No.
43064
CAUTION!
Either the hose holder
or the hose bracket
should be installed as
otherwise the suction
hose handling is
restricted.
Electronic coin tester
Allows the SB Station to
be operated with different
coins.
On request.
STARTING
OPERATION
•
Place the dirt tank into
the station and lower
the suction unit.
•
Fit the suction hose
with the adapter ring
over the connection of
the dirt tank.
Open the cover for the
coin tester tube:
•
Pull the knob and turn
through 90° - the
cover can now be
opened (Fig. 11).
•
Pull up the cover until
it is horizontal and
secure with the flap
holder (Fig. 12).
•
Set the desired
running time per coin
at rotary knob 1 of the
timer. (Fig. 13):
1 = 1 minute
10 = 10 minutes
(Rotary knobs 2-4 are
required only with
electronic coin tester)
Close the cover for the
coin tester tube:
•
Push down the cover
and turn the knob
through 90° - the
latching pin engages.
(Continued -->)
9
