ClearOne CONVERGE PRO 2 빠른 시작 매뉴얼 - 페이지 5
{카테고리_이름} ClearOne CONVERGE PRO 2에 대한 빠른 시작 매뉴얼을 온라인으로 검색하거나 PDF를 다운로드하세요. ClearOne CONVERGE PRO 2 8 페이지. Next generation audio dsp platform
ClearOne CONVERGE PRO 2에 대해서도 마찬가지입니다: 빠른 시작 매뉴얼 (9 페이지), 빠른 시작 매뉴얼 (12 페이지), 설치 매뉴얼 (11 페이지)
CONVERGE® Pro 2
Connecting the CP2
To connect and start to use the CP2, complete the following steps in order:
1. On the back panel, except for connecting a power source, make all appropriate connections.
Note the following information:
Port
Type B USB Port
RS-232 Serial Port
P-Link PoE Port (pass-
through) and P-Link OUT Port
C-Link In and C-Link Out
Ports
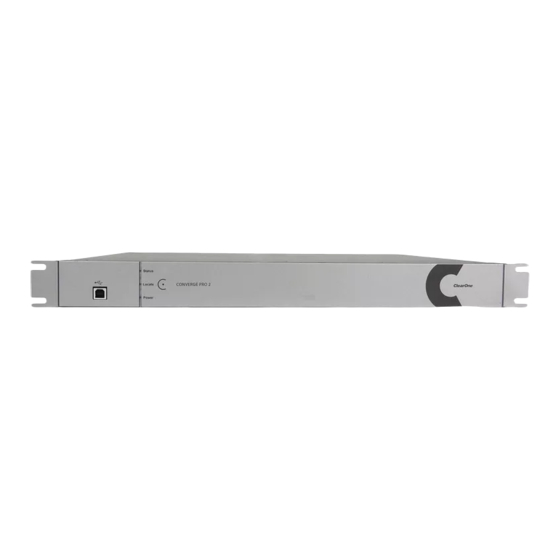
2. (Optional) If you want to use CONSOLE AI software to program the CP2 via USB, connect your
computer to the front panel USB port.
3. Connect AC Power.
Warning: This equipment must be connected to an AC mains socket outlet with
a protective earthing connection. The third prong of this connector (ground) is an
important safety feature. Do not attempt to disable this ground connection by using an
adaptor or other method.
4. On the front panel, check the LEDs. Use information in the following table:
Page 4
Notes
To connect to a computer or conferencing device for USB
audio
To connect to an external control device such as an AMX or
Crestron controller
Note: CONSOLE AI software connects through USB or
Ethernet only.
Detailed information is available in the
Pro 2 P-Link Peripheral Products Application
LEDs adjacent to each port indicate connection status and
packet traffic activity.
To connect together multiple CP2 units to create a site.
Warning: Use the C-Link In and C-Link Out ports with
only CONVERGE Pro 2 Devices. Connecting any other
devices to the C-Link In and C-Link Out ports, including
CONVERGE Pro or Beamforming Microphone Array
products results in severe equipment damage.
Quick-Start Guide
PoE and CONVERGE
Note.
QSG-0032-001v1.6 October 2021