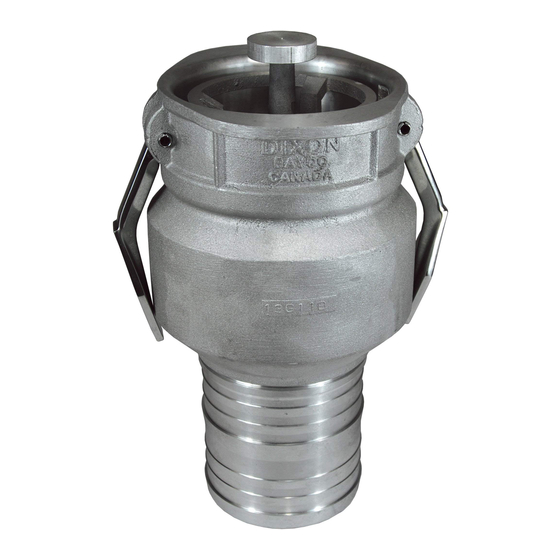
Dixon Bayco 유지 관리 및 운영 지침 - 페이지 3
{카테고리_이름} Dixon Bayco에 대한 유지 관리 및 운영 지침을 온라인으로 검색하거나 PDF를 다운로드하세요. Dixon Bayco 4 페이지. Locking handle kit
Dixon Bayco에 대해서도 마찬가지입니다: 설치 지침 (5 페이지), 유지 관리 및 운영 지침 (4 페이지), 유지 관리 및 운영 지침 (10 페이지)

These instructions and recommendations are provided to ensure proper operation and long service
life of Dixon VR4040CS-AL. Parts are identified by the item numbers on the assembly drawing and
parts list.
DIASSEMBLING AND ASSEMBLING INSTRUCTIONS FOR "DIXON" VR4040CS-AL SERIES
VAPOR COUPLERS
1. Hold the cage (2) and undo the machine screws (6) & lock washers (14).
2. Remove the cage (2) and visually inspect the cage (2) and the button (11). If the cage (2) and
the button (11) are worn or damaged, replace with new ones.
Note!
The button (11) is tightened onto the probe of the cage (2) through the screw (13) in the
factory.
3. If the gasket (4) needs to be replaced, install the new gasket (4). Make sure that the gasket (4)
sits in the groove properly.
4. Push the poppet (3) into the coupler and hold. Remove the O-Ring (8) from the poppet (3).
Note! After the O-Ring (8) is removed, the poppet stop (12) will hold the poppet (3) in the coupler
body. If the poppet (3) is worn or damaged, remove the coupler from the hose or the mating part.
5. Remove the poppet stop (12) from the hose shank end using a wrench for 1" hex.
3
090121 Rev 6
