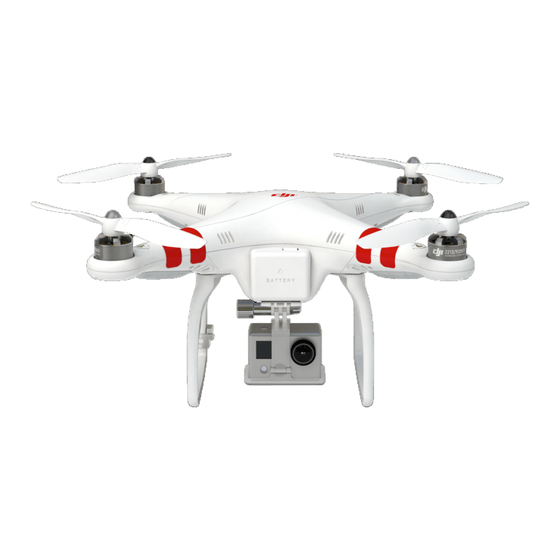
dji Phantom FC40 시작하기 매뉴얼 - 페이지 4
{카테고리_이름} dji Phantom FC40에 대한 시작하기 매뉴얼을 온라인으로 검색하거나 PDF를 다운로드하세요. dji Phantom FC40 11 페이지.

- 1. Basic Definitions
- 2. Assemble Quadcopter and Install Camera on FC40
- 3. Phantom Software Installation and Upgrading
- 4. USB and Battery Connection for Upgrades and Settings
- 5. Naza Asst.
- 6. One of Many Screens in the DJI NAZA Assistant Software
- 7. Calibrate the Compass
- 8. Landing
- 9. Orientation
- 10. Share this
DJI Phantom 1 & FC40 setup – Getting Started Guide
Naza Asst.
Open the NAZA assistant and check for and install any suggested Phantom firmware updates.
Under the "Advanced" tab, choose the "IOC" tab and activate it.
Under "F/S" (failsafe), make sure it is set to "Go-Home and Landing"
Under "Limits", set them at something reasonable. 2000 yards is useless. You can use these
to keep it close to you while you learn. Something like 100 meters would be better at first.
Under the "Basic" tab, click on "R/C". At the bottom you will see a horizontal line. At the right
end of it is an arrow that will bringup a pull down menu. Change it to "Failsafe"
You have to hit the return button on your computer to save some of the changes. You can
always double check by quitting the NAZA assistant and opening it again and then seeing
whether the Assistant software has the new settings.
Now when you put the right hand switch(S1) to the bottom, it will activate the"Return to
Home, Fail Safe" function. Now you will notice that when you move the S2 (left side) switch
down on your remote, the corresponding action will appear in the Naza Assistant.
When you set the left hand switch(S2) to the bottom (Home Lock), the quad will fly the
direction you move the right stick, regardless of which way it is facing. Some people call this
"headless mode" . When in the middle position you will be in Control lock, which corresponds
to the remotes position, and the FC40s compass position. These modes can be confusing so
be sure to watch a video which explains them. Most pilots only use the Home Lock – it's
handy when you lose orientation and want to bring the Phantom back closer to your position.
Copyright - Droneflyers.com - 2016
