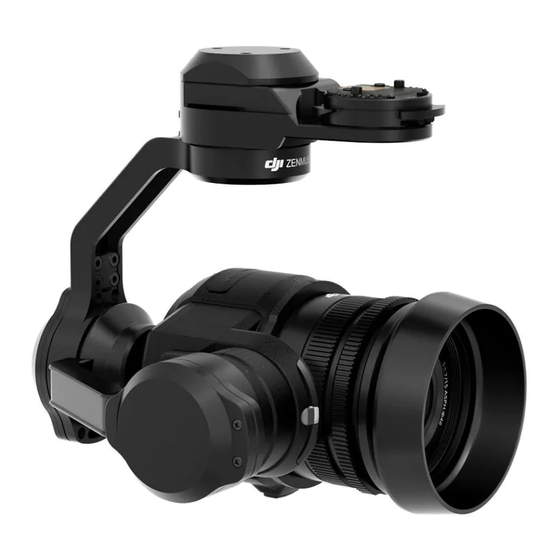
dji Zenmuse X5 매뉴얼 - 페이지 2
{카테고리_이름} dji Zenmuse X5에 대한 매뉴얼을 온라인으로 검색하거나 PDF를 다운로드하세요. dji Zenmuse X5 11 페이지. For inspire 1 pro
dji Zenmuse X5에 대해서도 마찬가지입니다: 사용자 설명서 (17 페이지), 사용자 설명서 (11 페이지), 사용자 설명서 (18 페이지), 사용자 설명서 (18 페이지)

In order to get a good IMU calibration the drone should not be hot, so it should never be done after the drone has
been running. The aircraft should have been switched off for at least ten minutes and ideally be in a cool location
such as an air-conditioned room or in a cool climate. The drone should be placed somewhere stable and ideally a
spirit level placed across from motor to motor to check for perfect level. Each foot can be adjusted by placing pieces
of paper underneath until perfect level is achieved. Once level the IMU calibration should be started as soon as
possible after switching on the drone and then there should be no movement of the drone during the calibration
process.
Once complete the IMU calibration should be good until the next firmware update or the airframe is exposed to large
forces.
3. Check Sensors every flight
So with points 1 & 2 in mind you shouldn't need to calibrate anything prior to each flight, however it is very important
to check what the sensors are reading and understand if you do need to take action.
With the drone powered up and the DJI app running you can navigate to the MC Settings page and then scroll down
and select the Sensors view that should look like the image below.
