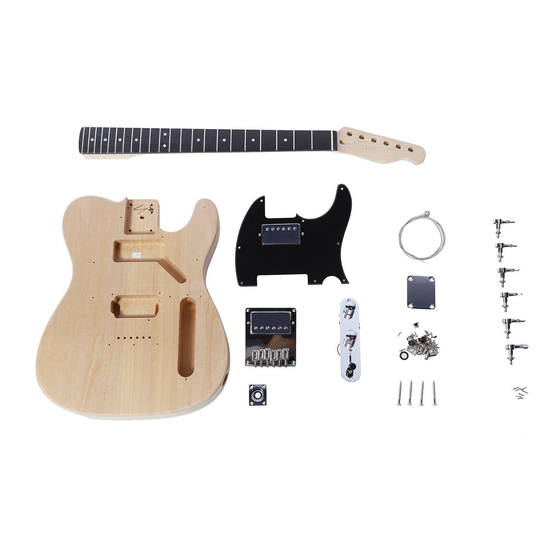
Artist Guitars TL DIY KIT 매뉴얼 - 페이지 4
{카테고리_이름} Artist Guitars TL DIY KIT에 대한 매뉴얼을 온라인으로 검색하거나 PDF를 다운로드하세요. Artist Guitars TL DIY KIT 14 페이지.

TL DIY KIT MANUAL
BODY
The first consideration to be made before assembling is to choose the
preferred finish of the guitar body.
The roasted poplar body of this kit is unfinished and unsealed, allowing you
to apply any finish you like. A wide variety of finishes can be procured from
DIY, timber and automotive outlets in aerosol cans making finishing straight-
forward without requiring specialist skills. The use of a dust mask is essential
when spraying.
The first step is to check the fit of the body to the neck joint. The guitar is
machined from high-grade tonewoods to ensure optimum alignment. But all
woods have a natural propensity to change the shape very slightly over
time. If the fit is too tight, a gentle adjustment using a sharp chisel or
sandpaper may be required. Please remember that the coating of lacquer
will make the neck fit a little more tightly into the cutout.
Before coating the body, ensure that all surfaces are clean and free of dirt
and dust. Conduct all coating processes in a well-aired, dust-free
environment. Slow and patient progress is the key to a good quality of the
body finish and it is recommended to test the colour and technique on a
spare piece of wood first.
A hole is drilled in the neck cutout so that it can be suspended by a hook for
spraying and drying or alternatively, a spare length of wood can be
screwed in place of the neck in the cutout as a handle.
Spray on the edges of the body first and allow the coat to become touch
dry. Once the edges are dry, continue on the rear and then on the front of
the body. Gradual and smooth passes will ensure an even coat. If there are
any imperfections, allow for to become fully dry and then sand out with fine
grade (e.g. 800+grit) before respraying. Apply three or more coats for full
coverage.
4
