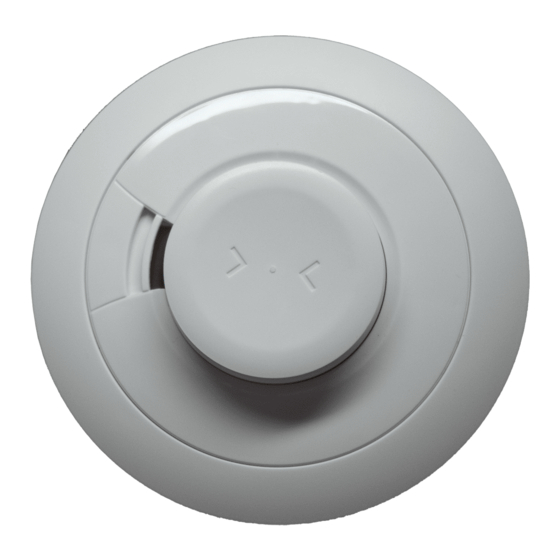
Alula RE114 빠른 시작 매뉴얼 - 페이지 2
{카테고리_이름} Alula RE114에 대한 빠른 시작 매뉴얼을 온라인으로 검색하거나 PDF를 다운로드하세요. Alula RE114 12 페이지. Smoke alarm interlogix compatible

Normal Operation
Power Up
Standby
Sensing Fire
Fault Mode
Low Battery
Faulty Smoke Sensor
Faulty Heat Sensor
End of Life
Silence Sounding
Alarm
Silence "End of Life"
indication (up to 30
days)
Test Mode
Test Smoke Alarm
Alarm Memory
24 Hour Memory
Long Term Memory
* Pressing and holding test button for 6 beeps causes alarm to be sent.
1.1. Normal Operation
1.1.1. Power Up
Twist off the Alarm from the mounting
plate (see Quick Start Guide). Remove
the battery tab to power the Alarm, the
red LED will flash once followed by one
flash of the yellow LED to indicate that
the Alarm has been powered successfully
and is now in standby mode.
1.1.2. Standby
In standby mode there are no active
visible or audible indications which can
be intrusive to the householder. To
confirm that the Alarm is operational
perform a weekly button test.
1.1.3. Weekly Button Test
Press and hold the test button and verify
that the red LED flashes rapidly and the
Alarm ramps up to full sound. Pressing
and holding the test button for six beeps
will cause fire alarm to be sent to panel.
1.1.4. Sensing Fire
As soon as the Alarm senses smoke it will
go into Alarm. The red LED on the Alarm
sensing smoke flashes rapidly to indicate
this is the Alarm sensing smoke / fire.
Follow the instruction in section 3 and
evacuate the building.
Indicator Summary
Action
Insert Battery
Action
Press & Release
Button
Press & Release
Button
Action
Press Button*
Action
Press & Hold
Button
Red LED
1 Flash
1 Flash
Off
Off
Rapid Flashing
Off
Red LED
Off
1 Flash every 48 sec
Off
2 Flashes every
48 sec
Off
2 Flashes every
48 sec
Off
3 Flashes every
48 sec
1 Flash every
Off
8 sec
Off
Off for 72 hours
Red LED
Rapid Flashing
Off
Red Led
2 Flashes every
Off
48 sec for 24
hours
Rapid Flashing
Off
1.1.5. Silence False / Nuisance alarm
Occasionally Smoke Alarms can be
activated by phenomena other than fire,
e.g. dust, insects, cooking fumes. Once
you are sure it is a nuisance alarm press
the large test button to silence the Alarm
for 10 minutes – the red LED will then
flash every 8 seconds for 10 minutes.
1.2. Fault Conditions
1.2.1. Low Battery
The Alarm will emit a short beep and
flash the Yellow LED when it becomes
partially depleted. Check the date when
the Alarm should be replaced which is
given on the sidewall of the Alarm. When
electronic self testing indicates that the
battery is becoming low the Alarm will
beep and the yellow LED will flash at
the same time (about every 48 seconds)
to warn the user. This indicates that the
battery or batteries must be replaced.
1.2.2. Contaminated Chamber
If the Alarm sounds without any apparent
smoke being present, press the test
button to silence the Alarm for 10
minutes (as described in 1.1.5 above).
If the Alarm sounds again it may be
contaminated. Pressing the test button
2
Yellow LED
Off
Off
Full Sound
Yellow LED
1 Beep
2 Beeps
2 Beeps
3 Beeps
Off for 10 mins
Off for 72 hours
Yellow LED
Full Sound
Yellow LED
Off
Rapid Chirping
Sounder
Sounder
Sounder
Sounder
