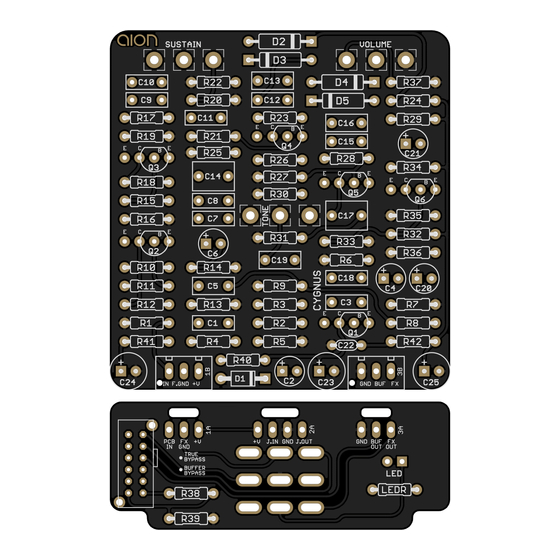
Aion Electronics CYGNUS 매뉴얼 - 페이지 8
{카테고리_이름} Aion Electronics CYGNUS에 대한 매뉴얼을 온라인으로 검색하거나 PDF를 다운로드하세요. Aion Electronics CYGNUS 11 페이지.

DRILL TEMPLATE
Cut out this drill template, fold the edges and tape it to the enclosure. Before drilling, it's recommended
to first use a center punch for each of the holes to help guide the drill bit.
Ensure that this template is printed at 100% or "Actual Size". You can double-check this by measuring
the scale on the printed page.
Top jack layout assumes the use of closed-frame jacks like the
open-frame jacks, please refer to the Open-Frame Jack Drill Template for the top side.
LED hole drill size assumes the use of a
size accordingly if using something different, such as a 3mm bezel, a plastic bezel, or just a plain LED.
INCH
0
1
CM
0
1
2
You'll have to bend it back so it fits the drill hole. It will be fixed in the next revision of the PCB.
CYGNUS DISTORTION/SUSTAINER
5mm LED
OUT
VOLUME
x: -0.65, y: +1.71
ø9/32"
LED
x: -0.775, y: -1.775
ø5/16"
Note: On version 1 of the Cygnus, the LED is slightly misaligned from the drill template.
bezel, available from several parts suppliers. Adjust
125B
0.625"
0.625"
ø3/8"
ø3/8"
ø1/2"
IN
DC
SUSTAIN
x: 0.65, y: +1.71
ø9/32"
TONE
x: 0, y: +0.66
ø9/32"
CENTER (0,0)
FOOTSWITCH
x: 0, y: -1.775
ø15/32"
Switchcraft
111X. If you'd rather use
8
