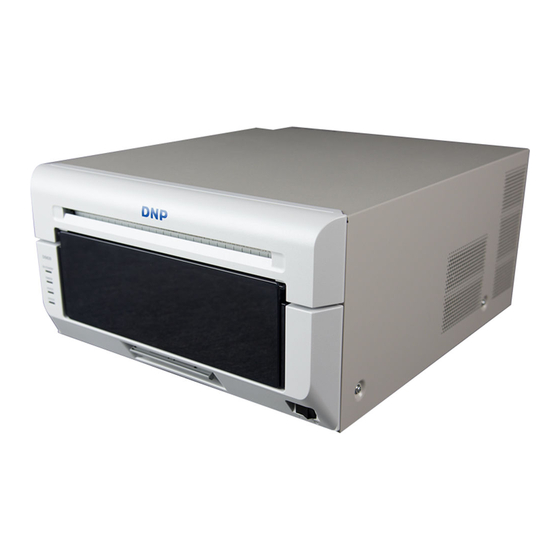
DNP DS620A 빠른 시작 매뉴얼 - 페이지 5
{카테고리_이름} DNP DS620A에 대한 빠른 시작 매뉴얼을 온라인으로 검색하거나 PDF를 다운로드하세요. DNP DS620A 8 페이지. Clearing a cutter jam

6. Check for any scraps of paper or other debris near the cutter. Using tweezers, carefully remove any scraps
you find. If you are unable to locate or remove a jam in the cutter gear, proceed to Method 2.
7. Remove any objects from the cutter path.
8. Verify that the printer is level and that four corners of the bottom are touching a level surface. Gently shake
the printer to verify that the printer is firmly set on the surface.
9. Plug the power and USB cables into the back of the printer and power the printer ON.
10. Reload the paper. When the paper is loaded properly, the printer beeps twice. If the two beeps are not
heard, proceed to Method 2.
11. Close the printer. It should initialize and produce the blank test cuts. If the printer does not initialize,
proceed to Method 2.
12. Print a test page. If the test page does not print properly, proceed to Method 2.
Method 2: Cleaning the Cutter Assembly
NOTE: This is an advanced printer cleaning procedure; please read through the instructions thoroughly before
proceeding.
This procedure does require a small Philips screwdriver, magnetic if possible to prevent losing the screws.
1. Turn the printer OFF and unplug the power cable and USB cables from the back of the printer.
2. Use the blue handle on the front of the printer to open the media compartment drawer.
3. Press the blue release lever on the left side of the media drawer to open the paper compartment.
4. Remove the two small screws on the bottom of the cover.
5 of 8
Troubleshooting
DNP Imagingcomm America Corporation
