Fleck 5600 Econominder 설치 매뉴얼 - 페이지 9
{카테고리_이름} Fleck 5600 Econominder에 대한 설치 매뉴얼을 온라인으로 검색하거나 PDF를 다운로드하세요. Fleck 5600 Econominder 11 페이지.
Fleck 5600 Econominder에 대해서도 마찬가지입니다: 소유자 매뉴얼 (8 페이지), 설치 지침 매뉴얼 (19 페이지)
5 › m a k I n G t H e B R I n e ta n k C o n n e C t I o n
1) Attach the brine nut, tapered ferrule, metal tube
insert, and brine line screen to one end of the
included brine tubing as shown in Figure 9-A.
Be sure to face the tapered side of the
i
ferrule towards the end of the brine line
3) Locate the brine well and remove the cap.
may also take this moment to prepare and
insert the brine support grid determined
from pages 4 and 5
Float assembly
in Figure 9-C
5) Take the other end of your brine line tube, make
sure this end is clean cut, recut if it is not clean,
mark 3/4" from the end of the tube, and insert the
tube through the small hole drilled through the brine
tank and brine well (Figure 9-E)
Help: 888-426-5001
F I G u R e 9 - a
474 Brine
. Then pull the
out of the brine well as shown
F I G u R e 9 - C
F I G u R e 9 - e
QualityWaterForLess.com
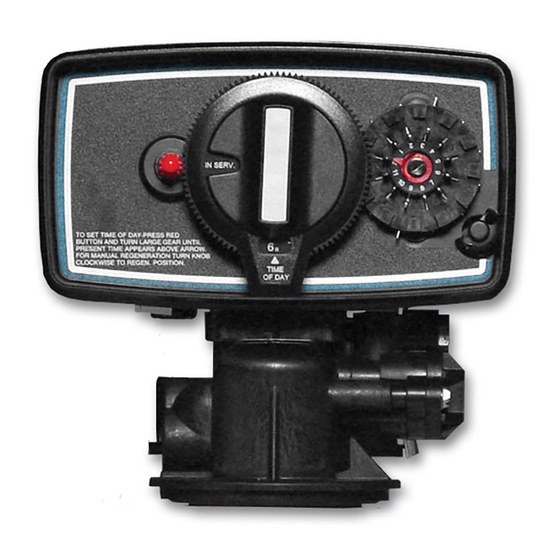
2) Next, connect this prepared end of the tubing to
the Fleck 5600 Meter Valve as shown in Figure
9-B. Tighten the nut to the valve using a wrench
until snugly in place. Be careful not to over tight-
en, as you may sever the brine line
You
4) Next, fix the 474 Brine Float Assembly to the
brine well through the pre-drilled hole and
hand-tighten as shown in Figure 9-D
6) Firmly insert the tubing end 3/4" into the tube
opening on the 474 Brine Float Assembly as
shown in Figure 9-F. i
fully inserted into the assembly
F I G u R e 9 - B
F I G u R e 9 - d
Make sure the tube is
F I G u R e 9 - F
PAGE 9