Cypress CP-255D 운영 매뉴얼 - 페이지 6
{카테고리_이름} Cypress CP-255D에 대한 운영 매뉴얼을 온라인으로 검색하거나 PDF를 다운로드하세요. Cypress CP-255D 12 페이지. Cypress pc/hd to 1080p dvi scaler box
Cypress CP-255D에 대해서도 마찬가지입니다: 운영 매뉴얼 (11 페이지), 운영 매뉴얼 (16 페이지)
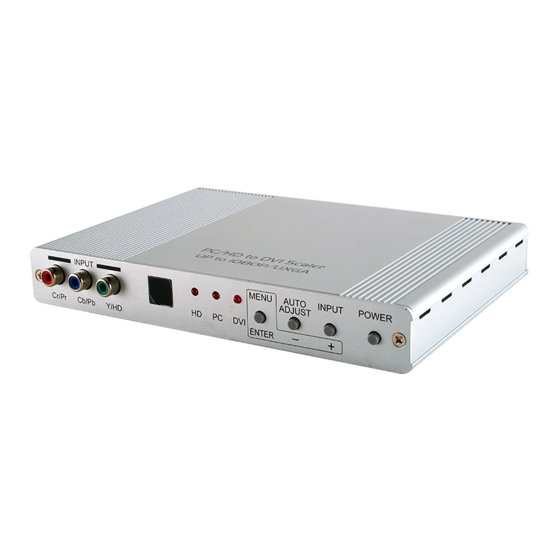
2. DVI input: Connects this DVI input connector to the DVI output connector of
your DVI source equipment. The DVI input should be digital DVI only and
should not include analog RGB signal.
The use of DVI-I connector is to ensure both DVI-I and DVI-D male connector
of the DVI cable can fit into this input connector. The digital DVI input
resloution can range from 480i~1080p, or VGA~WUXGA.
3. PC-D sub out: The connector for scaled analog RGB output.
Connect this output port to the analog PC RGB input of your monitor, or
connect it to the RGBHV input of your HD display using D-sub to 5 BNC
adaptor cable. (not included in the package)
Note: When input is a HDCP encrypted DVI signal this analog output will be
turned off.
4. DVI output: Scaled digital DVI output. Connect this output to the DVI input or
HDMI input of your Digital display.
Note: When input is a HDCP encrypted DVI signal the DVI output is also HDCP
encrypted. The monitor/display that connected to this output also need to
be HDCP compliant in order to get a nice and clean picture. A non-HDCP
compliant display can only display non-HDCP signal and picture will
become noise when input is a HDCP-encrypted signal.
5. Power jack: Connect to the 5V 2A DC power adaptor.
Remote Control and functions:
1. Power: Press the button once to power on the CP-255D. Press again to enter
standby mode.
2. Input: Press the button repeatedly to toggle through various input sources as
follows.
3. HD input: Press the button to select component input.
4. PC input: Press the button to select PC input.
5. HDMI/DVI input: Press the button to select DVI (or HDMI) input.
6. Output resolution:
Select buttons: Press any one of the button to directly
7. MENU: Press the button to bring up OSD main menu page.
8. Exit: Press the button to exit from a sub menu or main
menu.
9. Up/Down/Left/Right: Press the Up/Down button to move
Component
select output resolution.
For other output resolutions that are not
covered by these buttons please enter
Menu/Output page to select them.
the highlight bar to your desired
parameter during the OSD operation.
Press the Left/Right button to increase/
decrease the setting value of a
selected parameter.
PC
DVI
3
2
3
6
8
10
11
4
1
5
7
9
12