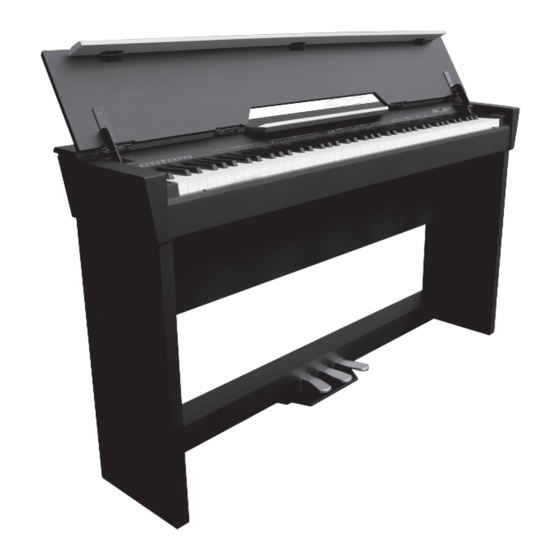
Ashton AURORA 1000 사용자 설명서 - 페이지 7
{카테고리_이름} Ashton AURORA 1000에 대한 사용자 설명서을 온라인으로 검색하거나 PDF를 다운로드하세요. Ashton AURORA 1000 16 페이지.

aSSembly
STEP 1: Using four 6 X 45mm screws (4) affix the left and
right side boards. Once completed, cover these screws with
the supplied screw caps (3).
STEP 2: Using the four remaining 6 X 45mm screws (4) to
affix the speaker box (9) to the side boards. Once completed,
cover these screws with the supplied screw caps (3).
STEP 3: With the two star-shaped hand screws (5) affix
the piano body (1) and piano stand section.
STEP 4: Following the directions on page 5 and 6, plug in the
pedal and speaker line. Your piano is now set up for the next
stage of preparation, power supply (see page 3).
3
2
4
5
6
Setup Guide
"+"
STEP 1: With 4 pcs Ф6X45
screws as shown fixed ST side
board left/right, and cover screw cap.
6
"+"
STEP 2: With 4 pcs Ф6X45
screws as shown fixed speaker box
"+"
STEP 2: With 4 pcs Ф6X45
screws as shown fixed speaker box
and feet plate and cover screw cap.
and feet plate and cover screw cap.
"+"
STEP 2: With 4 pcs Ф6X45
screws as shown fixed speaker box
and feet plate and cover screw cap.
aw_CDP6000_Manual_G03_120423
2012� � 4� � 23� �
15�34�15
STEP 3: With 2 star hand screws as shown fixed piano body and piano
STEP 3: With 2 star hand screws as shown fixed piano body and piano
foot part.
foot part.
STEP 3: With 2 star hand screws as shown fixed piano body and piano
foot part.
STEP 4: According to the labeling inserted foot line and speakers line,
STEP 4: According to the labeling inserted foot line and speakers line,
installation is complete.
installation is complete.
STEP 4: According to the labeling inserted foot line and speakers line,
installation is complete.
aw_CDP6000_Manual_G03_120423
aw_CDP6000_Manual_G03_120423
2012� � 4� � 23� �
15�34�16
2012� � 4� � 23� �
15�34�16
aw_CDP6000_Manual_G03_120423
2012� � 4� � 23� �
15�34�16
9
7
8
100
95
75
25
5
Setup
Setup
Setup
0
100
100
100
95
95
95
75
75
75
25
25
25
5
5
5
0
0
7
7
0
7
4
