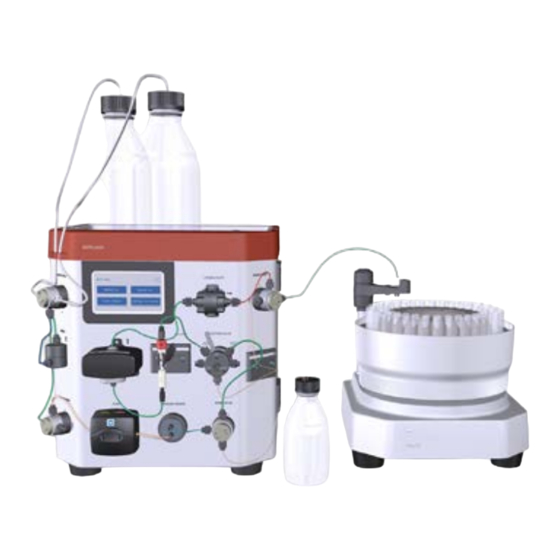
cytiva AKTA start 유지 관리 카드 - 페이지 7
{카테고리_이름} cytiva AKTA start에 대한 유지 관리 카드을 온라인으로 검색하거나 PDF를 다운로드하세요. cytiva AKTA start 14 페이지.

Cleaning solutions
•
1 M NaOH
•
DM water
Note: Before cleaning the Conductivity cell,
remove the column from the flow path and re-
connect the flow path.
Instruction
1. Immerse the inlet tubing (either A or B) in 1M
NaOH.
2. Start a manual run and pump 1M NaOH at 1 ml/
min through the flow cell for 10 minutes.
3. Pause the run. Leave the Conductivity flow cell
filled with 1 M NaOH for 15 minutes.
4. Immerse the inlet tubing in DM water.
5. Resume the run and rinse the flow cell
thoroughly.
Note:
Do not leave NaOH for a very long time in flow
cell to avoid damage. Rinse the flow path with
water thoroughly.
Make sure that the NaOH is completely removed.
The conductivity reading in the Run view screen
should be less than 1 mS/cm.
Calibrate the Instrument Display
Calibrate the Instrument Display if there are any
issues with the response of the touch screen.
Instruction
1. In the ÄKTA start home screen, tap Settings
and service to access the instrument modules.
2. Tap Display to access the touch screen options.
3. In the Display screen, tap Touch screen
calibration to start the calibration.
4. In the four subsequent calibration screens, tap
on the marked circles, as requested.
Pressure sensor zero offset
The pressure is set as 0 with the Pressure sensor
exposed to atmospheric pressure only (Zero offset).
P set parameter displays the pressure in the flow
path.
Instruction
1. Disconnect the inlet tubing from the Pressure
sensor to expose the sensor to atmospheric
pressure only.
2. Access Settings and service > Pressure
sensor.
ÄKTA start Maintenance Cue Card, 29024043 AF
3. In the Pressure sensor screen, tap Zero offset
then tap OK if there is no back pressure in the
system.
Note: Make sure that the Pump is OFF before
disconnecting the tubing.
Calibrate the Pump
For detailed instructions, refer to ÄKTA start
Maintenance Manual.
Instruction
1. Immerse the buffer inlet tubing A in DM water.
2. Place the outlet tubing from the Wash valve in a
pre-weighed collection tube.
3. In the Settings and service screen, tap Pump to
access the Pump options, then tap Calibration.
4. Set the intended flow rate in the range 0.5 to 5
ml/min.
5. Tap Start flow to start the Pump and collect
water for at least one minute in the pre-weighed
collection tube.
6. Weigh the collection tube to determine
the volume of the water collected, then set
Collected volume value equal to this volume.
7. Tap Calibrate to carry out the calibration.
Calibrate the UV Monitor
Set the flow cell path length
If the UV flow cell was replaced, a new cell path
length value has to be set.
Instruction
1. In the Settings and service screen, tap UV to
access the UV Monitor options.
2. In the UV screen, tap Flow cell path length.
3. Set the cell path length, Cell, corresponding to
the new UV flow cell.
4. Tap Save path length to save the value.
Note: The Cell path length is provided on
the packing of the UV flow cell. If the flow cell
path length is not available, refer to Operating
Instructions for instructions to calculate the Cell
path length.
Calibrate the UV LED
Tip:
The life time of the UV LED can be increased by turning
off the UV LED when the instrument is idle. This can
be useful when the system is in a cold room. Refer to
Guidelines for protein purification at low temperature
(29170790).
7
