ambiq micro Apollo2 Blue 빠른 시작 매뉴얼 - 페이지 11
{카테고리_이름} ambiq micro Apollo2 Blue에 대한 빠른 시작 매뉴얼을 온라인으로 검색하거나 PDF를 다운로드하세요. ambiq micro Apollo2 Blue 12 페이지. Evb
ambiq micro Apollo2 Blue에 대해서도 마찬가지입니다: 빠른 시작 매뉴얼 (16 페이지)
Quick Start Guide for
Apollo2 EVB (Rev 1.0)
Revision 1.0, June 2017
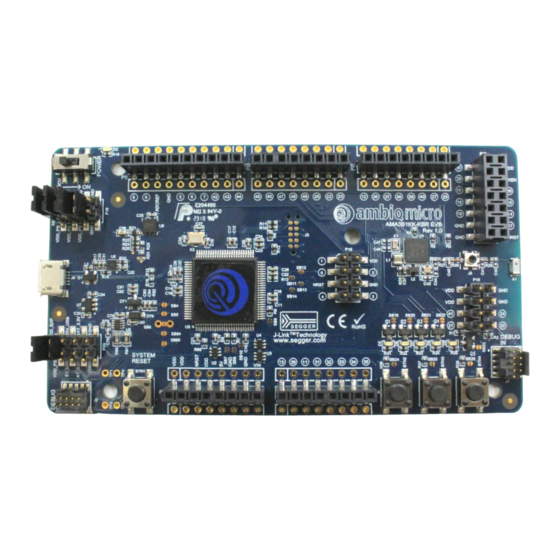
6. Measuring MCU Power Consumption on the EVB
To measure only the current consumed by the MCU you can connect a current meter to the header next to the
power switch, P8, by removing the red jumper in Figure 5 below and measure current across these two pins.
Figure 5. Red Jumper across VDD_PS and
Figure 6. Current Measuring Leads across VDD_PS
VDD_MCU on Header P8
and VDD_MCU on Header P8
If not measuring power consumption, make sure this jumper is in place connecting VDD_PS (pin 1) and
VDD_MCU (pin 2) on P8 to provide the on-board regulated 3.3V supply to the MCU V
.
DD
This header is also where an external voltage supply can be connected to the MCU, by removing this jumper and
provide desired supply to VDD_MCU on P8. Note that if attaching any expansion boards, the voltage to
VDD_EXP (pin 2) on P9 must be the same as VDD_MCU on P8. Default jumper settings connect VDD_MCU and
VDD_EXP to the same onboard 3.3V regulator. If not connecting any expansion boards then it is not require to
match VDD_EXP to MCU V
.
DD
QS-A2-1p00
Page 10 of 11
©2017 Ambiq Micro, Inc.
All rights reserved.