Ambir ImageScan Pro 800ix series 설치 및 설정 매뉴얼 - 페이지 6
{카테고리_이름} Ambir ImageScan Pro 800ix series에 대한 설치 및 설정 매뉴얼을 온라인으로 검색하거나 PDF를 다운로드하세요. Ambir ImageScan Pro 800ix series 14 페이지. High-speed adf scanner installation and setup guide for mac
Ambir ImageScan Pro 800ix series에 대해서도 마찬가지입니다: 설치 및 설정 매뉴얼 (15 페이지)

Scanning with a Mac
There are three different ways to operate the scanner on your Mac:
1. Using the Image Capture Software included with Mac OS
2. Using the buttons on the scanner front panel and AmbirScan ADF.
3. Scanning from AmbirScan ADF's Execute menu.
Scanning using Mac Image Capture
To use your scanner with Mac Image Capture, follow the steps listed below
1. Select your scanner from the device list. It will appear as "Ambir ImageScan Pro 820ix" or "Ambir
ImageScan Pro 830ix"
2. Adjust the settings on the right side of the Image Capture program
3. Load paper into the ADF.
4. Start a scan by clicking on the Scan button
5. Your scanned image will appear in the preview window of Image Capture
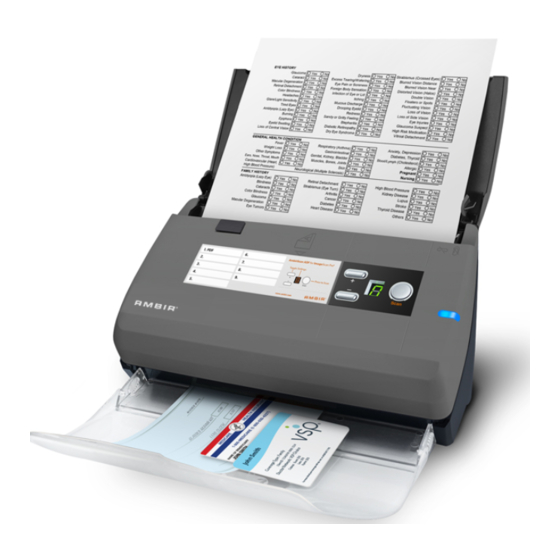
Scanning using the scanner buttons and AmbirScan ADF
Completing scanning projects using the scanner buttons is easy and convenient. Simply load the documents
into the ADF, select a task number and press Scan on the scanner.
AmbirScan ADF offers you quick access to the most frequently used scanning functions. It is especially useful
when you need to repeatedly scan with the same settings and send scans to the same destination.
The scan buttons can be used for the following tasks:
• Scan to folder or network share
• Scan to email
• Scan to printer
• Scan to FTP
• Create PDF, JPG, TIF, BMP and PNG files
• Setting different imaging parameters (color mode, resolution, page size, etc.)
5
