Ambir ImageScan Pro 800ix series 설치 및 설정 매뉴얼 - 페이지 7
{카테고리_이름} Ambir ImageScan Pro 800ix series에 대한 설치 및 설정 매뉴얼을 온라인으로 검색하거나 PDF를 다운로드하세요. Ambir ImageScan Pro 800ix series 14 페이지. High-speed adf scanner installation and setup guide for mac
Ambir ImageScan Pro 800ix series에 대해서도 마찬가지입니다: 설치 및 설정 매뉴얼 (15 페이지)

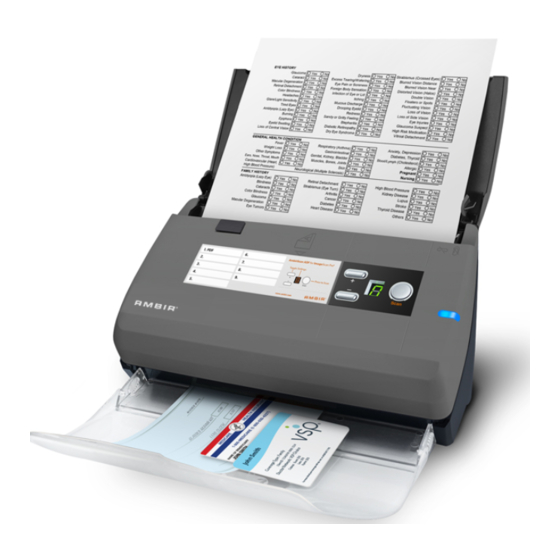
Scanning using the buttons on the scanner:
1. Load the documents or cards into the scanner (refer to the Loading Documents section
above for document and card loading instructions).
2. Check current button settings by viewing the sticker on the scanner or the AmbirScan Button
Configuration screen. You can modify settings to meet your requirements (refer to Configuring
Button Settings below for more information).
3. Press the UP or DOWN button to select the desired task.
4. Press the Scan button.
The documents are scanned and saved as specified by the button configuration.
Scanning from the AmbirScan ADF Execute Menu
You can also use AmbirScan ADF's Execute menu to perform the same scanning tasks as the scanner buttons.
1. Load the documents or cards into the scanner.
2. Check current button settings by viewing the memo sticker or the AmbirScan ADF
Button Configuration screen. You can modify the settings to meet your requirements.
3. Click the
from the drop down.
4. Click the desired button function in the pop-up menu to start the scan.
The documents are scanned and saved as specified by the button configuration.
Configuring Button Settings
Each icon on the left side of the Button Configuration window represents a scanning task. The
number underneath each icon corresponds to the number displayed on the scanner front panel.
Nine frequently used scanning tasks are pre-configured for your convenience. You can
customize these settings as needed.
icon in the Mac menu bar, choose Execute, and then select the desired button number
6
