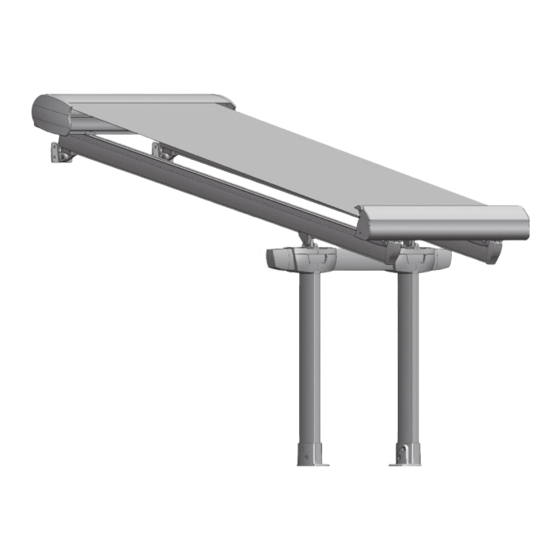
Coartal OPENED EOS Veranda Assembly Instructions Manual - Page 6
Browse online or download pdf Assembly Instructions Manual for Accessories Coartal OPENED EOS Veranda. Coartal OPENED EOS Veranda 16 pages. Patio cover style

MONTAJE EN FÁBRICA:
ASSEMBLAGE A L'USINE:
Paso 1:
Ajustar la longitud de las guías:
• Desmontar la tapa trasera y las garras.
• Cortar la parte sobrante de la guía. Ver longitudes mínimas de
corte en la tabla de "Recomendaciones de Uso" al principio
del manual. Muy importante: las dos guías han de cortarse a
la misma longitud ±1mm.
• Retirar la viruta del interior del per l, volcándolo hacia abajo
y/o con un pincel; jamás con pistola de aire.
• Volver a meter las garras en la guía; atornillar la tapa trasera;
poner la garra trasera atrás a tope y apretarla a fondo.
Step 1: Adjust the guides length:
• Take apart the rear cap and the claws.
• Cut the spare part of the guide. Check minimum lengths for
cutting adjustments at the "Use Recommendations" table at the
beginning of this manual. Very important: the two guides must
be cut to the same distance
• Take out the shaving from inside the pro le with the aid of a
brush by turning downwards (never use an air gun).
• Put again the claws in the guide; screw down the rear cap;
place the rear claw at the back and tighten thoroughly.
1: Ajuster la longueur des pro ls de guidage:
• Enlever le couvercle arrière et les xations.
• Couper la partie saillante du pro l de guidage. Voir
les longueurs minimales de coupe sur le tableau
"Recommandations d'Utilisation" au commencement du
manuel. Très important: les deux pro ls de guidage doivent
être coupés à la même mesure ±1mm.
• Enlever les copeaux de l'intérieur du pro l à l'aide d'un
pinceau mais jamais au pistolet à air.
• Remettre les xations sur le pro l de guidage; visser le
couvercle arrière, placer la xation à l'extrémité arrierè et
serrer à fond.
Fase 1:
Regolare la lunghezza delle guide:
• Rimuovere il tappo sul lato opposto al carrello di traino.
• Tagliare la parte in eccesso della guida. Controllare la lunghezza
minima del taglio sulla tabella "Raccomandazione d'uso"
all'inizio del manuale. Molto importante: le due guide devono
essere tagliate nella stessa lunghezza ±1mm.
• Rimuovere le bave dall'interno del pro lo, abbassandolo con
una spazzola, mai con una pistola d'aria.
• Rimettere il tappo sulla guida, avvitare le viti di ssaggio
posteriori al tappo (stringere a fondo).
ASSEMBLY AT THE FACTORY:
MONTAGGIO IN FABBRICA
± 1mm.
www.coartal.com
Llave 13 / 13 tool
Clé 13 / Chiave 13
