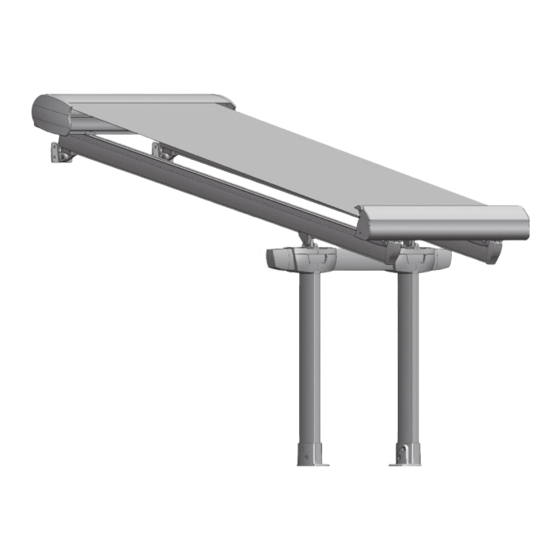
Coartal OPENED EOS Veranda Assembly Instructions Manual - Page 8
Browse online or download pdf Assembly Instructions Manual for Accessories Coartal OPENED EOS Veranda. Coartal OPENED EOS Veranda 16 pages. Patio cover style

Paso 3:
Premontar los soportes
laterales, teniendo en cuenta en qué lado
irán el motor y la espiga.
* En caso de usar punto con rodamiento,
ver longitud de corte del eje en su
manual de instrucciones especí co.
Step 3: Pre-install the lateral supports
having in mind the place where the
motor and the round pivot will be located.
* In case of using ball bearing round
pivot, check the tube cutting adjustment
in its speci c assembly instructions.
3: Pré-assembler les supports latéraux, en tenant
compte du côté de placement du moteur et du pivot.
* En cas d'utiliser un point de roulement à billes,
véri er la longueur de coupe de l'axe dans son manuel
d'utilisation spéci que.
Fase 3: Premontare sulle testate cassonetto i supporti laterali,
tenendo conto del lato dove andrà il motore e del lato con
perno tondo; Avviatre le testate al pro lo cassonetto inferiore.
Nel caso di utilizzo supporto foro tondo con cuscinetto
H=20 mm, vedere il taglio lunghezza del rullo sul manuale
di istruzioni.
Paso 4: Atornillar el soporte espiga
al per l inferior.
Step 4: Screw down the round pivot
support to the lower pro le.
4: Visser le support avec pivot au
pro l inférieur.
Fase 4: Avvitare la testata con il
supporto perno tondo al pro lo
cassonetto interiore.
Paso 5:
Meter el
eje+lona+motor+soporte-motor en el
per l inferior y atornillarlo a él.
Step 5: Put the tube + fabric + motor
+ motor support in the lower pro le and
screw down on it.
5: Introduire l'axe+toile+moteur+support
moteur dans le pro l inférieur et visser.
Fase 5:
Mettere il rullo+tessuto+motore+supporto-motore
nella culla del pro lo inferiore e ssare de nitivamente il tutto.
Llave 10 / 10 tool
Clé 10 / Chiave 10
Allen 6
www.coartal.com
Allen 5
Llave 13 / 13 tool
Clé 13 / Chiave 13
Allen 5
