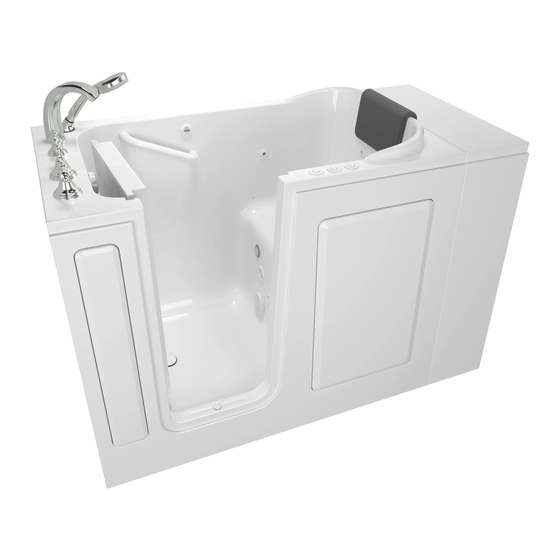
American Standard WALK-IN BATH Installation Instructions And Owner's Manual - Page 6
Browse online or download pdf Installation Instructions And Owner's Manual for Hot Tub American Standard WALK-IN BATH. American Standard WALK-IN BATH 15 pages. Walk-in bath

TESTING YOUR WALK-IN TUB BEFORE INSTALLATION
1. All American Standard® walk-in baths are 100% water tested at the factory and have passed inspection.
Transportation and mishandling may loosen fittings and cause leaks. It is therefore necessary to test the
bathtub while there is access to all sides of the bath.
2. This unit should be both static and operationally tested with water. It is best to test the unit outside by
filling with a garden hose.
a. Place the tub on a completely flat surface in an area where it may be drained after testing.
b. Using a clean rag and warm water wipe down seal to insure it is free of debris.
c. Seal the drain hole (this can be done with tape) and fill the tub to at least three inches above the
highest jet, or to the bottom of the safety bar if no jets are present.
d. Allow the water to stand in tub for 10 minutes and then inspect all plumbing and seals for
leaks.
e. Using appropriately rated three-prong extension cords, all plugged in to separate outlets,
operate all electrical components (air blower, water pump, and heater if applicable) for another
10 minutes and inspect for leaks again. Inspect the unions around the pump and heater.
f.
If a leak persists at a union after tightening, it may have been over-tightened or might have a
displaced O-ring. Disassemble it and make sure the O-ring was seated properly. Do the same if
a leak persists at the heater. Verify that the heater threads match the pipe threads.
g. Ensure that all jets are open and working (some hydro jets are adjustable for both flow rate and
direction of flow. For some jets, the water flow is adjusted by turning either the outside ring or
the inside nozzle clockwise or counterclockwise. The small jets are not adjustable at the jet but
can be adjusted by the pump speed or legs only massage.
3. If the pump/blower/heater does not operate:
a. Check the breaker to ensure that power is on and make sure that any cables connecting the
control box to the switches and pumps are firmly attached. Check outlet for current by plugging
in a light or hair dryer.
b. Ensure the pump/blower is plugged into the control box and the control box is plugged into the
wall.
c. If an optional heater is present, check the indicator light on the top of its housing. This light
will only come on while the pump is running. The heater is dormant when no water flows.
d. Do not run any pumps unless the tub is filled with water to the proper level. Damage due to dry
operation of pumps is not covered under the ten year warranty.
Failure to perform these tests before installation will make the installer liable for future repair costs.
5
OWNERS MANUAL
