Astor-Bannerman ABW6 Owner's Manual & Installation Manual - Page 7
Browse online or download pdf Owner's Manual & Installation Manual for Bathroom Fixtures Astor-Bannerman ABW6. Astor-Bannerman ABW6 12 pages. Height adjustable basin

Test the Safety Switch mechanism on the arms works properly:
•
Operate the lowering function and then lift the right hand arm to ensure the motor cuts out.
•
Leave the mains voltage supply switched on as it will allow the batteries to charge.
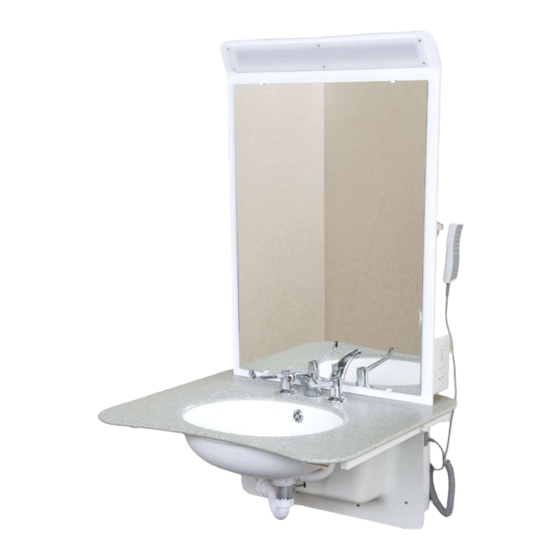
Assemble the Basin:
•
Cover the support arms to protect the Basin. Rotate the support arms so they are horizontal and
place the up turned basin on the arms.
•
Fit the overflow, hose and waste connection into the basin.
•
Fit the tap bodies to the basin as shown. Ensure there is 35mm of threaded body showing above
the basin deck to allow fitting the handle. Ensure the nylon washer is fitted under the handle
screw to remove any clearance on the spline.
•
•
Fit the spout in position and connect the flexible hoses as shown.
•
Loosen the nut on the base of the spout, apply silicon lubricant to the waste plug operating rod
and fit in position, retighten the nut. Make sure the rod can move freely.
•
Using the adjusting screw, set the overall length of the basin plug to 77mm
•
Stand the lower cover in place
•
Fit the plug lifting rods in position and set the clamp to lift the plug.
•
Touch taps:
Fit the sensors before mounting the unit on the wall
•
Touch tap sensors should be fitted in the position agreed with the client.
•
Drill an 18mm in the position required, take care to avoid items under the
basin.
•
Position the coloured ring on the sensor and fit the securing nut.
•
Position the second sensor.
•
Wire the sensors into the control box behind the mirror
•
The basin assembly is now ready to be fitted to the high-low frame:
•
Remove the protective film from double-sided sticky tape fitted to the
pivoting arms and place the basin onto the support arms as far back as
possible, ensuring the basin is under the white plastic upper cover which
holds the mirror.
The mains water supply can now be fitted:
•
Ensure both the hot and cold mains water supplies have been flushed and only then fit the open
ends of the supply hoses with the filter screens supplied onto the isolation valves.
Page: 7
25mm
30mm
Version 3 : 01-04-016
