astra telematics AT210 Installation Manual - Page 2
Browse online or download pdf Installation Manual for GPS astra telematics AT210. astra telematics AT210 5 pages. Vehicle tracking device
Also for astra telematics AT210: User Manual (9 pages), Quick Start Manual (4 pages)

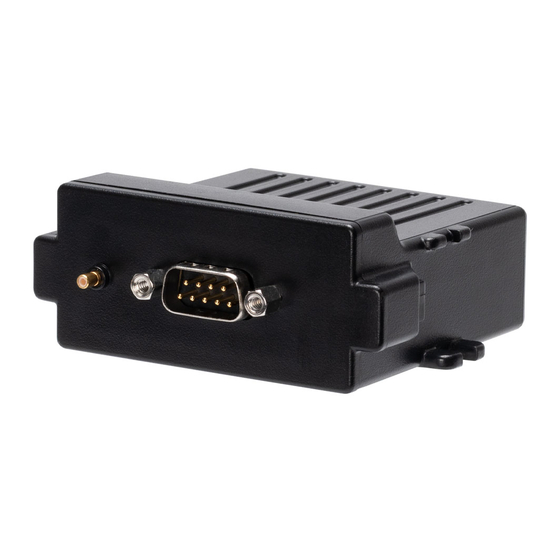
3. Fit the DB9 Cable
a. Connect the sealed DB9 cable and tighten the jack-screws finger tight, until the seal is
compressed against the enclosure end panel
4. Hook up the electrical connections
a. Connect the RED and BLACK wires to a PERMANENT +12V/+24V vehicle power source
via a 3A fuse. Connect the ignition sense input (Digital 1) to an ignition switched
12/24V signal (i.e. something that only goes live when the vehicle ignition is ON) via a
3A fuse
i. RED
ii. BLACK
iii. WHITE
b. We recommend that all connections should be soldered to ensure reliable
terminations. Crimps and IDC type terminations can be unreliable if used with the
wrong tooling and/or wires sizes.
c. All unused wires should be insulated to avoid undesired behaviour.
5. Connect the iButton Probe (if required)
a.
Fit the IB001 iButton probe in the desired position on the vehicle dashboard (requires
drilling a hole) and then connect to the matching connector on the CB203 standard
cable (accessories are not supported using the basic 3-way cable).
b. Please refer to the Driver ID Application Note for more information regarding the use
and configuration of iButton options and recommended iButton accessories.
6. Fit the external GNSS antenna (if required)
a. The AT210 has an internal GNSS antenna, so an external antenna is not required in
most cases, but if the device is mounted in a location with poor GNSS visibility, an
external antenna can be used. If this is required, remove the cover from the GNSS
antenna connector (adjacent to the DB9) and plug in the AE005 GNSS active patch
antenna.
b. To maintain the IP67 sealing, it is necessary to seal the GNSS antenna connector (after
it has been connected) with silicone sealant or similar.
c. If the external GNSS antenna is not used, please leave the sealing cover in place.
+12 / +24V
1A FUSED
GROUND
1A FUSED
IGNITION
1A FUSED
