Canon PIXMA MX340 Series Network Setup Manual - Page 10

Browse online or download pdf Network Setup Manual for All in One Printer Canon PIXMA MX340 Series. Canon PIXMA MX340 Series 26 pages. Cartridge reset
Also for Canon PIXMA MX340 Series: Installation Manual (17 pages), Install Manual (11 pages), Brochure (2 pages), Manual (8 pages), Manual (10 pages), Network Setup Troubleshooting (13 pages), Network Installation Manual (16 pages), Connection Manual (11 pages), Simplified Service Manual (35 pages), Manual (4 pages)
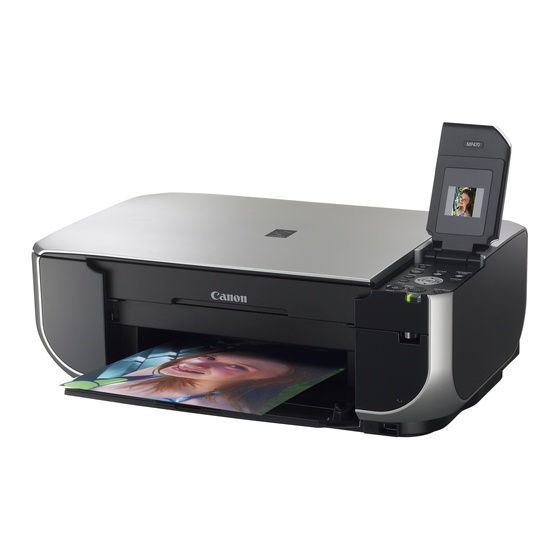
Canon PIXMA MX340 Series Network Setup Manual

Reference Information

Configuring the Access Point's Wireless LAN Settings Manually

Action
Enter the access point name/network name (SSID) and security setting (WEP, WPA,
etc.) directly.
Follow the procedure below.
1
Perform
to
in "Install the Software (2)" on page 36 in the printed manual:
Getting Started.
If the Detected Access Points List screen is
displayed, go to
.
2
When the Confirm Connection Access
Point screen appears, click No (A).
The Detected Access Points List screen is
displayed.
3
Click Manual Setup (B).
The Manual Setup screen is displayed.
4
Enter the access point name/network name
(SSID) in SSID (C).
5
Select the security protocol for the access
point in Encryption Method (D), then click
Configuration (E).
Go to either of the following steps according
to the selected Encryption Method (security
protocol).
Disable
Go to
WEP
Go to
WPA/WPA2
Go to
A
B
C
D
on page 10.
.
on page 10.
6-A
WEP
1
Enter the network key in WEP Key (F).
Enter upper and lower case letters of the alphabet correctly when the network key is
5 or 13 characters. Letters are case sensitive.
Letters are not case sensitive if the network key is 10 or 26 characters (digits).
2
Select Key Length (G).
When WEP 40 bit is selected in AirPort Utility (AirPort Admin Utility), select 64 bit.
When WEP (Transitional Security Network) is selected in AirPort Utility, select 128
bit.
3
Select Key Format (H).
Select Characters when the network key is 5 or 13 characters.
Select Hexadecimal when it is 10 or 26 characters (digits).
4
Select Key ID (I).
When using AirPort, select 1 in the screen.
Selecting other key numbers will disable the connection between the machine and
AirPort.
5
Select Authentication (J), then click OK (K).
Go to
E
WPA/WPA2
Disable
K
on page 10.
(P.10)
(P.10)
F
G
H
I
J